
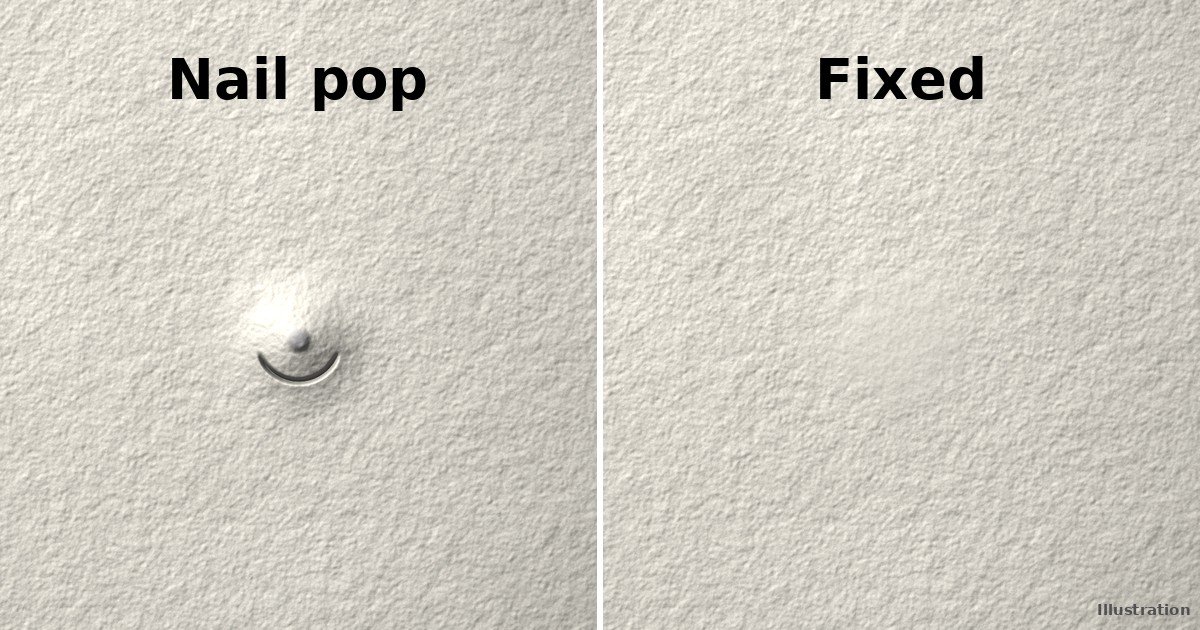
Quick answer: To fix a nail pop in drywall, don’t just hammer it back in. Press the board tight against the stud, drive a drywall screw 1 to 2 inches above and another below the popped fastener, then set or remove the old nail below the surface. Fill with joint compound, sand, prime and paint.
You paint a room, step back, and there it is: a small bump or a crescent-shaped crack that wasn’t there last month. Relax. It’s a nail pop, and learning how to fix nail pops in drywall takes less time than the paint takes to dry.
The catch is that most people fix them the wrong way. They tap the nail back in, dab on some spackle, and the bump returns a few weeks later. Below is the fix that stays put, plus what to do about screw pops and ceiling pops, why they keep coming back, and when a pop is telling you something bigger.
What is a nail pop in drywall?
A nail pop is a nail or screw head that has pushed outward through the surface of the drywall. You’ll usually see a small round bump, a crescent-shaped crack in the paint, or the shiny circle of the fastener itself. Sometimes you only notice it when you run your hand across the wall or look at it with the light coming in from the side.
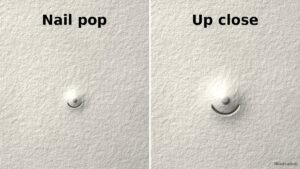
A screw pop is the same problem with a screw. Pops are very common, especially in newer houses, and in most cases they are cosmetic.
Why do nail pops happen?
The fastener isn’t really moving outward. The drywall is moving away from the framing, and the nail stays put. A few things cause it:
- Drying lumber. New framing contains moisture. Over the first one to three years it dries and shrinks, and the stud pulls back from the drywall.
- Humidity swings. Wood swells and shrinks with the seasons, which works fasteners loose over time.
- Loose boards. If the drywall wasn’t pulled tight against the framing when it was installed, it has room to shift.
- Settling and vibration. Normal house movement, wind and heavy footsteps can all play a part.
- Truss uplift (ceilings). Roof trusses can shift with temperature and moisture changes, which moves ceiling drywall, especially near wall corners.
How to fix a nail pop in drywall, step by step
What you need: a drill or screw gun, 1-1/4 inch coarse-thread drywall screws (for 1/2 inch drywall; see our guide to drywall screw sizes), a hammer and nail set, a 4 to 6 inch drywall knife, joint compound, fine sandpaper (120 to 220 grit), primer and paint. Wear safety glasses.
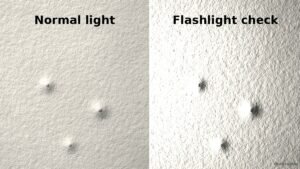
1. Find every pop. Hold a flashlight flat against the wall and look along it. Bumps and cracks show up clearly. Mark each one with a pencil. Fix them all in one go, since where there’s one there are usually more.
2. Find the stud. On a wall, framing runs vertically, usually every 16 inches, so the stud is directly above and below the pop. A stud finder helps. Your screws must land in the center of the stud, not its edge.
3. Press the board tight. Push the drywall firmly against the stud with your free hand. Closing that gap is the whole point of the repair.
4. Drive a screw above and one below. Place each screw about 1 to 2 inches from the popped nail, straight into the stud. Sink the head just below the surface, enough to leave a shallow dimple but not so deep that it tears the paper. If the paper rips or the head leaves a crater, back the screw out and drive a new one half an inch to the side.
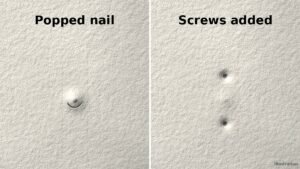
5. Deal with the old nail. With the new screws holding the board, tap the old nail just below the surface with a hammer and nail set, or pull it out and fill the hole. Go gently; heavy hammering can loosen neighboring fasteners.
6. Scrape and fill. Scrape off any loose paint or compound around the pop. Apply a thin coat of joint compound over the nail hole and each screw dimple. Let it dry, then add a second thin coat. For a longer-lasting repair on a cracked area, press a small piece of mesh tape over it before the first coat (see our guide to mudding with mesh tape).
7. Sand, prime and paint. Sand lightly with 120 to 220 grit (our sandpaper grit guide explains which to use), wipe off the dust, prime the spots, then paint. Priming matters because bare compound soaks up paint differently and shows through. See how to prepare drywall for paint.
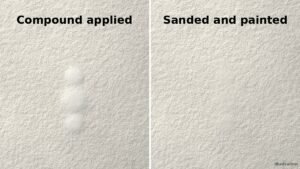
Time: about 20 to 30 minutes of hands-on work per few pops, plus a day for the compound to dry between coats. Not sure how long to wait? Read how many coats of mud you need.
How to fix a screw pop in drywall
A screw pop has the same cause, so it needs the same cure: the board has to be held tight against the framing.
- Try the simple fix first. If the popped screw still bites solid wood, press the board against the stud and drive the screw back in until the head sits just below the surface.
- If the screw spins freely, it has missed the stud or stripped the wood. Back it out completely.
- Add a new screw about 1 to 2 inches away, directly into the stud, set just below the surface.
- Fill, sand, prime and paint as in the steps above.
If the head has torn through the paper face, don’t reuse that spot. Drive a new screw next to it and fill the old hole.
How to fix nail pops in a drywall ceiling
The method is the same, with a few differences overhead:
- Find the joists. Ceiling framing runs in one direction. A line of pops usually shows you which way. Tapping lightly also helps: it sounds hollow between joists and more solid on them.
- Support the board. Hold it up against the joist while you drive the screws.
- Keep your coats thin. Heavy compound sags overhead.
- Protect yourself. Wear safety glasses and a dust mask, and use a pole sander to keep the dust off your face. See ceiling drywall for what the board should be.
Check what else is on the ceiling. A pop next to a brown stain points to a leak above, and sagging drywall isn’t cosmetic. Fix the leak and refasten or replace the board first.
If pops and cracks appear mostly near the wall corners and come and go with the seasons, truss uplift may be the cause. A professional can refasten the ceiling board with clips or blocking that allow for that movement.
Why do nail pops keep coming back?
If you’ve fixed the same spot before, one of these is usually the reason:
| Likely cause | What you’ll notice | What to do |
| You only hammered the nail back in | The pop returns within weeks, same spot | Add screws above and below, into the stud |
| The screw missed the stud or caught only its edge | The screw feels loose or spins | Find the center of the stud and drive a new screw |
| The board isn’t tight to the framing | Slight springiness or a gap when you press | Press the board flat while driving screws |
| The framing is still drying | Several pops, often in a home under 3 years old | Repair after the first heating season, or use builder warranty |
| Seasonal humidity swings | Pops return in the same season each year | Keep indoor humidity steady |
| The screw was driven too deep | Torn paper or a crater around the head | Back it out and drive a new screw half an inch away |
| Truss uplift (ceilings) | Pops or cracks near the walls in winter | Ask a pro about clips or blocking |
If cracks keep returning too, read why drywall cracks keep coming back.
Are nail pops a sign of foundation problems?
Usually not. On their own, nail pops point to normal lumber shrinkage and humidity changes, not to a failing foundation. They are one of the most common cosmetic drywall issues.
Pay closer attention when pops show up together with other signs:
- Cracks that keep growing, especially diagonal ones near windows and doors
- Doors or windows that suddenly stick
- Gaps between walls and floors, ceilings or trim
- Sloping floors
- Water stains, rusty fastener heads, or sagging drywall (these suggest moisture)
If you see several of these, have a structural or foundation professional take a look. Our guides on how to tell if a drywall crack is serious and whether drywall cracks mean foundation problems will help you judge.
How to prevent nail pops in drywall
- Use screws, not nails. Modern drywall installs use screws, which hold far better. Follow the correct spacing from our drywall screw spacing guide.
- Pull the board tight. The drywall should be pressed against the framing before each fastener goes in.
- Set the screws properly. A screw gun with a clutch leaves a clean dimple without breaking the paper.
- Hit the framing. Check that each screw reaches the center of a stud or joist.
- Keep humidity steady. Big swings in indoor humidity move the framing. A range of roughly 30 to 50 percent is often recommended.
- Wait for new lumber to settle. In a new home, many pops appear in the first year or two. Many builders include a one-year warranty touch-up, so ask yours.
How much does it cost to fix nail pops?
Doing it yourself is cheap: basic supplies such as compound, sandpaper and touch-up paint usually run about $10 to $30. Hiring someone costs more, mostly because of minimum charges.
| Source | Typical professional cost per nail pop |
| HomeAdvisor | About $10 to $60 |
| Fixr | About $75 to $140 |
| Mr. Handyman | About $25 to $130 |
These guides disagree because many handymen set a minimum visit fee, often $100 or more, and charge $60 to $90 per hour. If you have several pops, having them all fixed in one visit brings the cost per pop down. Prices vary by region, so check local rates.
When it’s worth calling a pro: pops across a whole ceiling, signs of moisture or sagging, or pops that come with the foundation warning signs above.
FAQs
Can I just hammer a nail pop back in?
Not if you want it to stay fixed. A hammer tap pushes the nail down, but the board is still loose against the framing, so the nail pops again. Add screws above and below first, then set the old nail below the surface.
Are nail pops serious?
Usually no. Most are cosmetic and come from drying lumber or humidity changes. They become a concern when they come with growing cracks, sticking doors, sagging drywall or water stains.
Why do nail pops keep coming back?
The most common reasons are that the board was never pulled tight against the framing, the screw missed the stud, or the pop was only patched and painted. Securing the board with screws fixes the cause.
How many screws do I need per nail pop?
Two is standard: one above and one below the popped nail, about 1 to 2 inches away and into the stud. If only one position lands on solid framing, one screw can be enough.
How long does it take to fix a nail pop?
The hands-on work takes about 20 to 30 minutes for a few pops. With two thin coats of compound, plan on a day or two before sanding, priming and painting.
Should I wait to fix nail pops in a new home?
Often yes. New framing keeps drying for a year or more, so more pops may appear. Many builders include a warranty touch-up around the one-year mark, so ask before you fix them yourself.
Quick recap
- Don’t just hammer it. Screw the board tight to the stud above and below.
- Set the screw heads just below the surface, without tearing the paper.
- Fill in thin coats, sand lightly, prime, then paint.
- Look for other signs if the pops keep coming back or appear with cracks.
Got a pop that keeps returning? Leave a comment with where it is and what you’ve already tried, and I’ll point you in the right direction. If you’re patching a larger problem, see our guide on how to patch a hole in drywall.