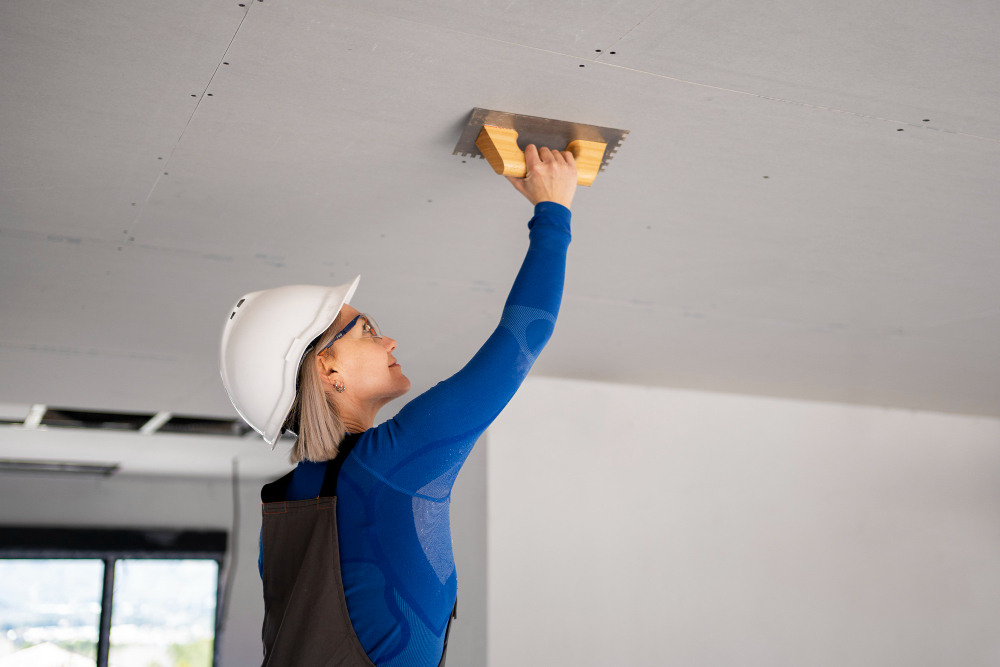
Repairing peeling or loose drywall tape on a ceiling can seem daunting—especially for textured or high ceilings. This full guide breaks down how to repair drywall tape on ceiling using professional techniques, easy-to-find tools, and insider tips to ensure the fix looks seamless and lasts for years.
Whether you’re an experienced DIYer or just getting started, this guide helps you confidently tackle this common problem.
Why Ceiling Drywall Tape Often Comes Loose
Before starting, knowing why tape comes loose helps you fix it properly and avoid future issues:
- Moisture and humidity: Especially in kitchens, bathrooms, or basements, moisture can soften the joint compound, causing tape to peel.
- Improper mud application: Insufficient coats, wrong consistency, or poor adhesion weaken the bond.
- Structural settlement: Over time, homes settle, and ceiling seams can shift, causing cracks and tape separation. Experts recommend embedding fiberglass mesh tape in a quality mud for better grip on ceilings.
- Natural shrinkage or oversanding: Applying thick coats or sanding through the mud can expose tape edges. Feathering edges carefully is key.
Tools & Materials You’ll Need to Repair Drywall Tape on Ceiling
Gather everything beforehand to work efficiently and avoid delays:
- Utility knife
- Sandpapers (120 grit for prep; 150–220 grit for finish)
- 4–10″ drywall knives (taping and finishing sizes)
- Ladder (stable and safe for ceiling work)
- Safety gear: goggles, dust mask, gloves
- Joint compound: quick-setting or all-purpose premixed
- Paper drywall tape or self-adhesive fiberglass mesh tape
- Texturing sponge or texture product (if needed)
- Drop cloths and a damp cloth for cleanup
Step-by-Step: How to Repair Drywall Tape on Ceiling
Step 1: Prep the Area
Cover floors and furniture. Work in a ventilated space. Use your safety gear.
Step 2: Remove Loose Tape
Use a utility knife to carefully cut and remove only the loose or bubbled tape—avoid damaging the surrounding drywall
Step 3: Clean and Sand the Area
Brush away dust, then sand the area with 120-grit paper to create a clean, smooth base. Remove any residue with a damp cloth.
Step 4: Apply Joint Compound & Tape
- Use paper tape for clean seams and mesh tape with quick-setting mud for better long-term adhesion in ceilings.
- For new tape, apply a thin, even layer of mud with a 6″ knife, center tape, embed gently from center outward, smoothing out air bubbles.
Step 5: First Coat of Joint Compound
Coat tightly over the tape, feathering edges 2″ beyond the tape line. Allow to fully dry—typically 24 hours or per manufacturer’s instructions
Step 6: Sand and Clean
Once dry, gently sand the area smooth (150–220 grit). Clean off dust with a damp cloth.
Step 7: Apply Additional Coats
Apply a second coat using a wider knife (10″). Feather even further. If needed, add a third coat for a seamless blend with the rest of the ceiling
Step 8: Texture to Match
Match texture with a sponge or tool. Practice on scrap material first for best blending.
Step 9: Prime and Paint
After final sanding, prime the patch to ensure consistent paint adhesion. Then paint with ceiling paint to match.
Pro Tips & Insider Tricks
- Use quick-setting “hot mud” for mesh tape to reduce shrinkage and set faster
- Feather edges gradually; thin edges blend better than thick blobs.
- Avoid oversanding—it may expose tape or create low spots. Use careful strokes and check with side lighting
- Fix underlying moisture or framing issues—band-aid fixes fail long-term. Investigate root causes before patching
- Clean thoroughly between coats to help mud adhere properly.
Frequently Asked Questions
Can I fix this myself?
Absolutely! With the right tools and patience, most homeowners can follow these steps to repair drywall tape on ceiling successfully.
Which tape is better—paper or mesh?
Use paper tape for standard flat seams. Opt for fiberglass mesh tape with quick-setting mud for ceilings or prone-to-shrinkage areas
How many coats of mud do I need?
Typically 2–3 coats. Start with a narrow coat, widen each succeeding coat, and feather well.
How long does the repair take?
Expect 2–4 days, allowing for drying times between coats and final painting.
Do I need texture on my repair?
Yes—if your ceiling has pre-existing texture. Practice beforehand to ensure a seamless blend.
Conclusion
Knowing how to repair drywall tape on ceiling equips you to tackle what may seem like a tricky repair with confidence. From identifying the root cause to carefully embedding new tape, feathering joint compound, and matching ceiling texture, each step builds toward a durable, professional-looking finish.
- Prep thoroughly. Protect surfaces, wear safety gear, and remove only what’s necessary.
- Choose the right materials. Paper tape for standard seams; mesh with setting mud for added strength.
- Work in thin layers. Patience and gradual feathering pay off with invisible results.
- Texture and paint carefully. Practice, prime, and match the paint for a seamless outcome.
Whether you’re in the U.S., Canada, or anywhere, homeowners can handle this common ceiling issue effectively. A little expertise and attention go a long way toward restoring a clean, long-lasting ceiling—without calling in a pro.

