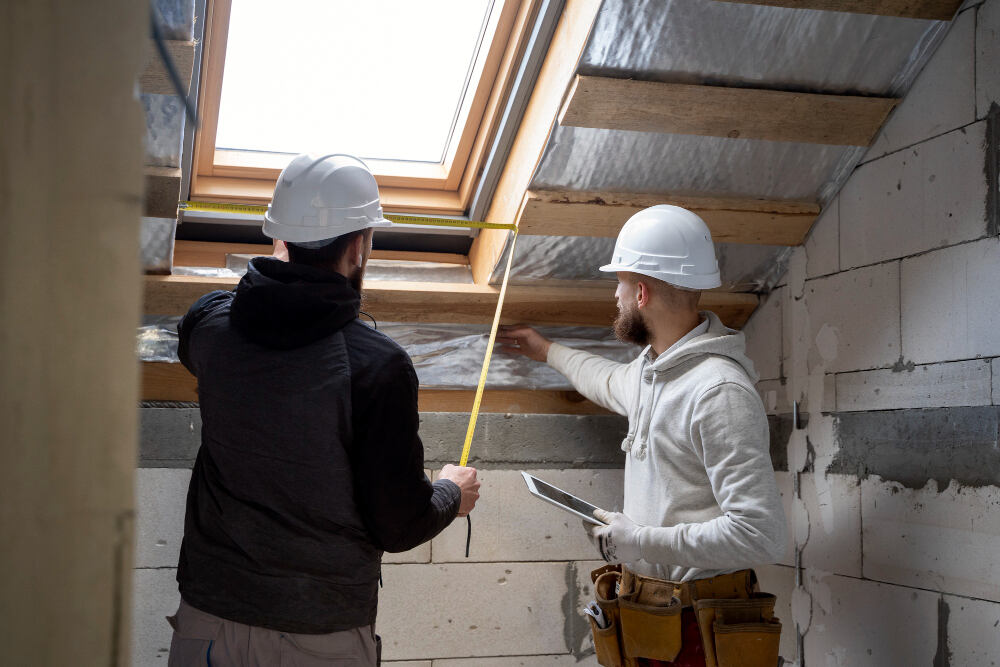
Removing drywall is a task that requires careful planning, especially when it comes to preserving the insulation behind it. Whether you’re updating your home, making repairs, or replacing damaged drywall, knowing how to remove drywall without damaging insulation can save you time, money, and hassle. If you’re not careful, you could easily tear the insulation or reduce its effectiveness, which can lead to energy inefficiency and higher utility bills.
In this guide, we’ll walk you through the step-by-step process of how to remove drywall without damaging insulation, ensuring you get a clean finish while keeping the insulation intact. Let’s break it down.
Why Insulation Matters During Drywall Removal?
Before we jump into the process, it’s essential to understand why protecting insulation during drywall removal is so important. Insulation is the barrier that keeps your home energy-efficient by regulating temperature and moisture levels. If the insulation gets torn, compressed, or otherwise damaged while removing drywall, it can cause:
- Energy Loss: Damaged insulation loses its effectiveness, leading to heat loss in the winter and higher cooling costs in the summer.
- Higher Utility Bills: With less effective insulation, your HVAC system will have to work harder, resulting in increased energy consumption.
- Moisture Problems: Compromised insulation can allow moisture to seep in, leading to mold growth and structural damage.
This is why it’s critical to follow a precise process on how to remove drywall without damaging insulation, ensuring that you preserve the functionality of your home’s insulation.
Tools You’ll Need for Removing Drywall Without Damaging Insulation
To successfully remove drywall without damaging the insulation behind it, you’ll need the following tools:
- Utility Knife: Ideal for scoring drywall before removal.
- Drywall Saw: For making clean cuts in larger sections.
- Pry Bar: To gently separate drywall from studs without harming insulation.
- Screwdriver or Drill: For removing drywall screws.
- Hammer: A claw hammer helps in loosening nails.
- Stud Finder: To locate studs and guide where to cut the drywall.
- Dust Mask and Safety Glasses: Essential for protection during the removal process.
Having these tools ready will help you manage how to remove drywall without damaging insulation smoothly and efficiently.
How to Remove Drywall Without Damaging Insulation (Step-by-Step)
Step 1: Prepare the Area
Before starting the actual removal, make sure the area is ready:
- Turn Off Utilities: Always turn off the electricity in the room to avoid accidentally cutting into live wires behind the drywall. If there are water pipes nearby, shut off the water as well.
- Cover Furniture and Floors: Use drop cloths to protect floors and furniture from dust and debris. This will also make the cleanup easier after you’re done.
- Wear Safety Gear: Equip yourself with a dust mask, safety glasses, and gloves to protect from dust and debris while removing drywall.
Step 2: Score the Drywall
Begin by using a utility knife to score the drywall along seams and edges. This makes it easier to remove drywall panels cleanly and prevents unnecessary damage to the insulation behind it.
Pro Tip: Keep the utility knife at a shallow angle. You only want to cut through the drywall without going deep enough to slice into the insulation.
Step 3: Locate the Studs
Using a stud finder, mark the locations of the studs behind the drywall. Knowing where the studs are will help you cut the drywall in sections and avoid pulling too hard, which could disturb the insulation.
Why It’s Important: Cutting along the studs minimizes the risk of damaging insulation. Insulation is often placed between studs, so cutting cleanly along the edges of these will protect it from getting torn.
Step 4: Cut and Remove Drywall in Sections
Once you’ve scored the drywall and located the studs, use a drywall saw to cut the drywall into manageable sections. The smaller the sections, the less force you’ll need to pull them away from the wall, which decreases the chance of damaging the insulation.
Work Carefully: Removing drywall in large sections can lead to insulation damage if the drywall tugs on the material behind it. Smaller sections are easier to handle and less likely to disturb the insulation.
Step 5: Pry Gently Using a Pry Bar
After cutting the drywall into smaller sections, use a pry bar to gently pull the drywall away from the studs. Work slowly to avoid pulling too hard, which could disrupt the insulation.
Pro Tip: Insert the pry bar between the drywall and the studs gently and apply steady pressure. Avoid jerking motions that could rip the insulation.
Step 6: Inspect the Insulation as You Go
As you remove each section of drywall, inspect the insulation for any damage. Make sure it’s not being torn, compressed, or pulled out of place. If the insulation sticks to the back of the drywall, carefully cut it free with a utility knife.
This step is crucial for maintaining energy efficiency. Ensuring that the insulation remains intact is the key to understanding how to remove drywall without damaging insulation effectively.
Additional Tips for Removing Drywall Without Damaging Insulation
Here are some extra tips to help make your drywall removal process smooth and ensure that your insulation stays in good shape:
- Go Slow Around Electrical Boxes: Electrical boxes often have insulation around them. Be extra cautious when removing drywall in these areas. Score deeply around the edges and remove drywall with minimal pressure.
- Use a Reciprocating Saw for Large Jobs: If you’re removing drywall in a large room, a reciprocating saw can speed up the process. Just be sure to use a fine-tooth blade to avoid cutting into insulation or other materials behind the wall.
- Minimal Force is Key: When pulling drywall off the wall, apply the least amount of force necessary to remove the sections. This minimizes the chances of insulation being disturbed or pulled out.
Common Mistakes to Avoid When Removing Drywall to Prevent Insulation
Even with the best intentions, there are a few common mistakes people make when learning how to remove drywall without damaging insulation. Avoid these pitfalls for a smoother process:
- Cutting Too Deep: Scoring the drywall too deeply can lead to accidentally cutting through insulation or electrical wires behind the wall.
- Rushing the Job: Trying to remove drywall too quickly can lead to torn insulation, which is costly and time-consuming to fix.
- Skipping Safety Steps: Always remember to turn off the power and wear protective gear. These precautions are essential for a safe and efficient drywall removal process.
Final Check: Inspect and Repair Insulation
After removing the drywall, give the insulation a thorough inspection. If you notice any tears, compression, or missing pieces, it’s important to fix those areas before installing new drywall. You can use spray foam or batt insulation to repair any small damaged sections.
Ensuring the insulation remains intact after removal will maintain your home’s energy efficiency and reduce the risk of moisture issues. How to remove drywall without damaging insulation includes checking these final details before moving on to the next phase of your project.
Conclusion
By following the steps in this guide, you now know how to remove drywall without damaging insulation in a way that’s efficient and protects the integrity of your home’s energy barrier. With the right tools, a careful approach, and attention to detail, you can complete your drywall removal project without compromising the insulation behind it.
Whether you’re taking on a small renovation or a large-scale project, the key is patience and precision. Taking the time to score, cut, and remove drywall in smaller sections helps prevent unnecessary damage, saving you from costly insulation repairs. Now that you’re equipped with these expert tips, your drywall removal process will go smoothly, keeping your home energy-efficient and ready for the next step in your renovation.

