Taping drywall is one of the most important—and intimidating—parts of finishing a wall. It’s the step that turns raw drywall sheets into smooth, seamless surfaces ready for paint. Whether you’re learning how to tape drywall joints, mastering tricky butt joints, or figuring out how to tape drywall corners, getting it right ensures your walls look professional and last for years.
This guide covers everything you need: the right tools, step-by-step instructions, common mistakes to avoid, and pro tips for achieving flawless results. By the end, you’ll know exactly how to tape drywall like an experienced finisher.
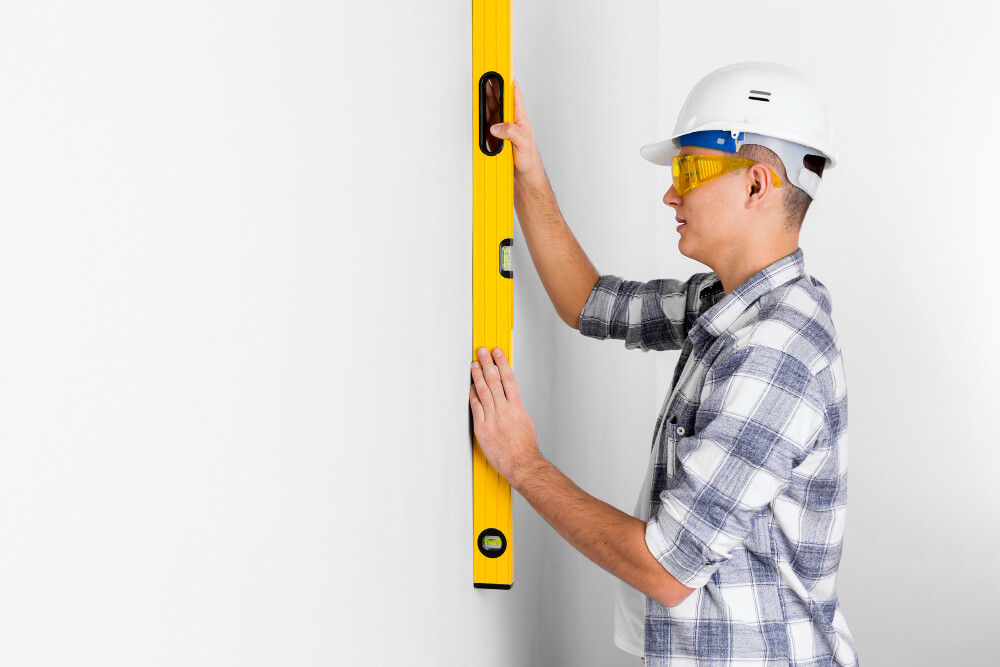
Why Drywall Taping Matters
Drywall taping isn’t just cosmetic. Done properly, it:
- Prevents Cracks: Tape strengthens seams, so walls resist stress as your home naturally shifts and settles.
- Improves Durability: Well-taped drywall lasts longer and reduces future repairs.
- Creates a Flawless Finish: Without taping, seams and screw heads remain visible under paint.
Skipping or rushing this step often leads to cracks, visible seams, or peeling paint—issues that are much harder (and costlier) to fix later
Tools & Materials You’ll Need
Before learning how to tape drywall joints, gather the right supplies:
- Drywall tape: Paper tape (best for most jobs) or mesh tape (easier for beginners, but needs more compound).
- Joint compound (mud): Lightweight all-purpose mud works well for DIY projects.
- Taping knives: 6-inch for embedding tape, 10–12-inch for feathering seams.
- Corner trowel: For smooth inside corners.
- Mud pan: To hold compound while working.
- Utility knife: To trim drywall edges and tape.
- Fine-grit sandpaper or sanding sponge: For smoothing dried compound.
With tools ready, you’re set to tackle joints, seams, and corners step by step.
How to Tape Drywall Joints (Step-by-Step)
The most common task in drywall finishing is taping flat joints—where two factory edges meet. Here’s how to do it right:
Step 1: Prep the Joints
Check seams for rough edges, protruding screws, or gaps. Cut away torn paper with a utility knife and sink any screws slightly below the surface. Clean dust with a brush.
Step 2: Apply the First Coat of Mud
Using your 6-inch knife, spread a thin, even layer of joint compound along the joint. Keep the coat no wider than the tape itself.
Step 3: Embed the Tape
- Paper tape: Press into the wet compound, then smooth with your knife from the center outward to remove bubbles.
- Mesh tape: Since it’s self-adhesive, stick it directly over the seam, then apply mud over it.
Step 4: Second Coat (Feathering)
After the first coat dries (usually 24 hours), switch to a 10–12-inch knife. Spread a wider layer of mud, feathering the edges so the seam blends gradually into the drywall.
Step 5: Final Coat & Sanding
Apply a third, very thin coat to smooth everything out. Once dry, sand lightly with fine-grit sandpaper until the surface feels flush and even.
Pro Tip: Don’t over-sand—you’ll expose the tape underneath.
How to Tape Drywall Butt Joints
Butt joints occur where two cut ends of drywall meet, which don’t have the factory “tapered” edge. These are the hardest joints to hide because they’re naturally raised.
Steps for Butt Joints:
- Apply Base Coat: Spread mud wider than usual—at least 8–10 inches—to help disguise the bump.
- Embed Tape: Press paper tape into the compound and smooth carefully.
- Build Feathered Coats: Apply second and third coats even wider (12–16 inches). The goal is to gradually slope the seam so it blends into the wall.
- Sand Smoothly: Use long, light strokes to avoid creating a dip in the middle.
Pro Tip: The wider your feathering, the less noticeable a butt joint becomes.
How to Tape Drywall Seams
When people ask how to tape drywall seams, they often mean both factory joints and butt joints. The key to a smooth seam is consistency:
- Always start with a thin base coat.
- Embed the tape carefully without wrinkles.
- Build coats gradually instead of trying to cover tape in one go.
- Feather edges wider with each coat.
Whether it’s a flat joint or a butt joint, the process of taping drywall seams is about patience and layering.
How to Tape Drywall Corners
Corners—especially inside corners—are the trickiest part of drywall taping. They’re prone to cracking if not taped correctly.
Inside Corners
- Apply Compound: Spread mud evenly on both sides of the corner.
- Fold the Tape: Crease paper tape lengthwise and press it into the corner.
- Embed with a Corner Trowel: Smooth both sides, removing excess mud.
- Apply Second Coat: Once dry, coat one side, feathering out 6–8 inches. Let it dry, then coat the other side.
- Final Coat & Sanding: Apply a thin final coat on both sides, then sand carefully.
Outside Corners
Outside corners typically use metal or plastic corner beads for strength.
- Install the corner bead with nails, screws, or adhesive.
- Apply joint compound over the bead edges, feathering outward.
- Repeat with two more thin coats, sanding lightly between.
Pro Tip: Always finish one side of an inside corner before starting the other. It prevents pulling tape loose.
Common Mistakes When Taping Drywall
Even experienced DIYers slip up. Avoid these pitfalls:
- Too much mud: Leads to lumps and long sanding sessions.
- Skipping feathering: Creates visible ridges along seams.
- Over-sanding: Exposes tape, forcing you to redo work.
- Not letting coats dry: Causes cracking and peeling.
- Using the wrong tape: Mesh tape in corners often cracks; use paper tape instead.
Pro Tips for a Flawless Finish
- Keep tools clean: Dried chunks in mud cause bumps.
- Work in thin layers: Three thin coats are better than one thick one.
- Control lighting: Use a work light at an angle to spot imperfections before sanding.
- Use dust control compound: Easier cleanup when sanding.
- Be patient: Drying time is non-negotiable for a strong, smooth finish.
FAQs About Taping Drywall
Is paper tape or mesh tape better for drywall joints?
Paper tape is stronger and better for corners. Mesh tape is easier to apply but requires more compound and can crack if not done properly.
How many coats of mud do I need when taping drywall?
At least three: one to embed the tape, a wider second coat, and a thin finishing coat.
Can I speed up drying time?
You can use quick-setting compound (“hot mud”), but it sets fast—work quickly. Avoid using heat directly, which can cause cracks.
How do I tape drywall butt joints without them showing?
Feather the mud as wide as possible, sometimes up to 18 inches. The gradual slope disguises the raised seam.
Do I need to sand between coats?
Lightly sanding between coats helps, but the final sanding is the most important for a smooth surface.
Conclusion: Mastering Drywall Taping
Learning how to tape drywall joints, seams, butt joints, and corners is one of the most valuable DIY skills for homeowners. While it may seem intimidating, the process comes down to preparation, patience, and layering.
- For flat seams, keep coats thin and feathered.
- For butt joints, spread compound extra wide.
- For corners, fold tape carefully and use a corner trowel.
By avoiding common mistakes and following best practices, you’ll end up with walls that look seamless and professional.
Whether you’re finishing a basement, repairing damage, or working on new construction, mastering how to tape drywall saves money and gives your home the polished look it deserves.