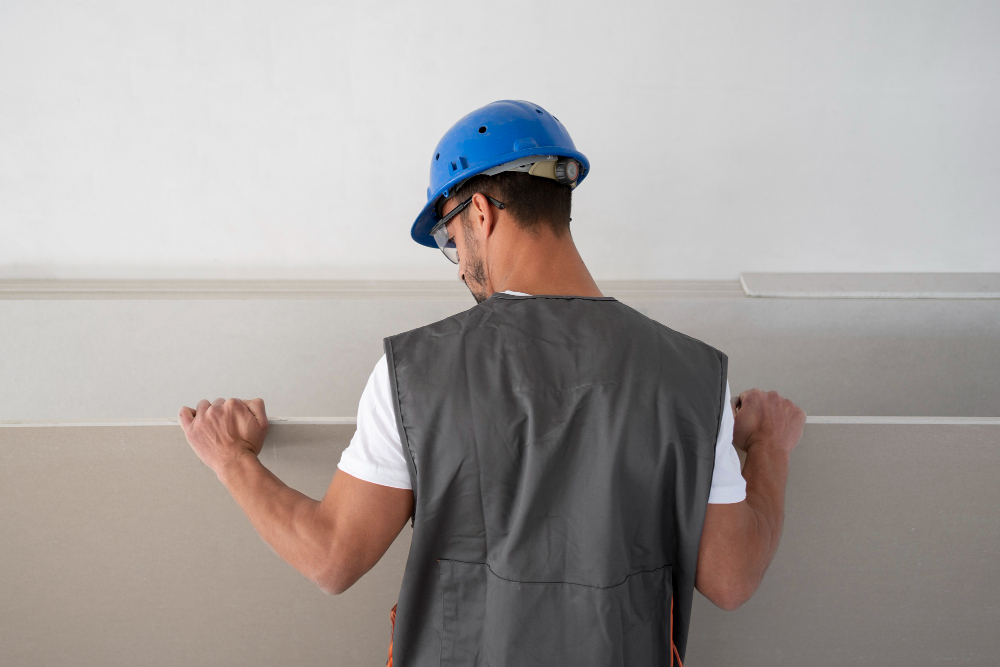
When it comes to hanging drywall on 10-foot walls, the process might seem intimidating at first. After all, drywall sheets are large and heavy, and installing them on tall walls requires careful planning and precision. Whether you’re remodeling a room or finishing a basement, getting the drywall up on high walls can be the most challenging part of the process. But don’t worry—this guide will walk you through the entire process in a detailed, easy-to-understand way.
In this step-by-step guide, we’ll cover everything you need to know about hanging drywall on 10-foot walls, including common pitfalls to avoid, essential tools, and techniques to make the process easier. We’ll also answer common questions that homeowners have when tackling this job for the first time.
Why Hanging Drywall on 10-Foot Walls Requires Special Attention
Drywall is an essential part of modern construction. It provides smooth, paintable surfaces that hide the inner workings of your walls—like insulation, wires, and pipes. It’s also relatively inexpensive and easy to install, making it the go-to choice for finishing interior spaces.
However, the task becomes more complex when you’re dealing with walls that are 10 feet high. For one, you need to lift the heavy drywall sheets and ensure they are secured properly. Mistakes, like uneven seams or damaged sheets, become more noticeable on large, tall surfaces. This is why careful planning, the right tools, and following a systematic approach are crucial to achieving a professional-looking result.
Let’s dive into the process.
Step-by-Step Guide to Hanging Drywall on 10-Foot Walls
Step 1: Gather Your Tools and Materials
Before you start, make sure you have everything you need. Having the right tools on hand will make the process go more smoothly and ensure that you achieve the best possible result. Here’s a list of the tools and materials you’ll need for hanging drywall on 10-foot walls:
- Drywall sheets (4×8 feet or larger if necessary)
- Drywall screws (1 ¼ inch)
- Drywall screw gun or drill with a drywall bit
- Drywall T-square for accurate measurements and cuts
- Utility knife for cutting drywall
- Measuring tape for wall dimensions
- Drywall lift (significant for higher walls)
- Drywall tape (mesh or paper)
- Joint compound (also known as drywall mud)
- Drywall sanding block or pole sander
- Ladder or scaffolding for reaching higher areas
- Drywall corner beads (if working on corners)
- Optional but helpful tools include a drywall jack for lifting sheets into place on your own and a drywall
- rasp for smoothing rough edges after cuts.
Pro Tip: Even if you’re a seasoned DIYer, don’t skip investing in a drywall lift if you’re working on 10-foot walls. These lifts can be rented and will save you time, energy, and potential injury when trying to hold drywall sheets in place at height.
Step 2: Measure Your Wall Area and Plan Your Layout
Now that you’ve gathered your tools, start by measuring your wall dimensions. Accurately measure the height and width of the walls to ensure you know how much drywall you’ll need. Drywall sheets come in standard sizes (typically 4 feet by 8 feet or 4 feet by 12 feet), but when you’re dealing with 10-foot walls, you’ll likely use 4×8 sheets along with smaller strips to fill in the extra 2 feet.
How Much Drywall Do You Need? For a standard 10-foot-high wall, an 8-foot-wide section would require two full 4×8 sheets hung horizontally and a 2-foot strip to fill in the middle gap. For wider walls, simply adjust your calculations accordingly.
It’s a good idea to sketch out your walls and plan where each drywall sheet will go. This will help you minimize waste and make the installation process smoother.
Pro Tip: Always add about 10% more material to your calculations to account for mistakes, waste, or potential damage to drywall sheets during installation.
Step 3: Install Drywall on the Ceiling First (If Applicable)
One of the most common questions homeowners ask is: Should I drywall the ceiling or the walls first?
The answer is simple—always start with the ceiling. Installing the ceiling drywall first allows the wall drywall to butt up against it, providing a cleaner, more secure finish. Hanging the walls first can leave gaps between the ceiling and wall sheets, which will make finishing the joints more difficult.
When hanging drywall on the ceiling of a room with 10-foot walls, the process can be especially tricky due to the height. Using a drywall lift will help you hold the sheets in place while you screw them into the ceiling joists. Make sure the drywall fits snugly against the framing and secure it with screws every 12 inches along the edges and every 16 inches in the field.
Step 4: Begin with the Top Sheet
Now that the ceiling is done (if applicable), it’s time to tackle the walls. Always start with the top sheet of drywall first. Hanging the top sheet ensures that it is properly aligned with the ceiling, and you won’t risk damaging any lower sheets by using ladders or scaffolding.
Here’s how to do it:
- Lift the drywall sheet into position. If you’re working alone, a drywall lift or jack is essential. If you have a helper, they can assist in holding the sheet while you secure it.
- Secure the sheet with screws. Start by screwing the sheet to the wall studs along the top, middle, and bottom edges. Space the screws about 12 inches apart along the edges and 16 inches apart in the field.
- Double-check for level. Before driving all the screws in, make sure the sheet is level. A small mistake here can cause issues when you install the rest of the sheets.
Pro Tip: If you’re unsure about your ability to handle larger sheets, consider using a half-inch lightweight drywall for easier handling. This can make a big difference, especially when working on tall walls.
Step 5: Install the Bottom Sheet
Once the top sheet is secure, move on to the bottom. The process is much easier here since you don’t have to lift the sheet as high. Simply align it with the floor and secure it to the studs, just as you did with the top sheet.
Why start at the top? Some homeowners wonder why it’s recommended to start at the top of the wall instead of the bottom. The reason is practical—by starting at the top, you avoid having to step on or damage the lower sheets while using a ladder to reach the top.
Step 6: Fill in the Middle Gap with a 2-Foot Strip
Since we’re dealing with 10-foot walls and standard 8-foot drywall sheets, there will be a 2-foot gap in the middle of the wall. This gap is filled with a 2-foot-wide strip of drywall. Measure and cut the strip to size using a T-square and utility knife.
Pro Tip: Place the 2-foot strip in the middle of the wall rather than at the top or bottom. This makes taping and mudding the joint easier and less noticeable, especially when sanding. Seams at the middle of the wall are less likely to draw attention than those near the floor or ceiling.
Taping, Mudding, and Finishing Drywall
Once all of your drywall sheets are installed, the next step is taping and mudding the seams. This part of the process is crucial for creating a smooth, seamless surface that’s ready for painting or texturing.
Step 1: Apply the First Coat of Mud Using a drywall knife, apply a thin layer of joint compound over the seams where the drywall sheets meet. Be sure to cover screw holes as well.
Step 2: Lay Drywall Tape Press drywall tape into the wet mud along each seam. You can use paper tape or mesh tape depending on your preference—mesh tape is easier to work with for beginners, but paper tape often provides a stronger bond.
Step 3: Apply the Second and Third Coats of Mud Once the first coat of mud has dried, apply a second and third coat, each one slightly wider than the last. This helps to feather out the edges and create a smooth, even surface.
Step 4: Sand Smooth After the final coat of mud has dried completely, sand the seams and joints to smooth out any imperfections. Use a sanding block or pole sander to get an even finish.
Pro Tip: Be patient during the taping and mudding process. Apply thin coats of mud and let each layer dry completely before moving on to the next. Rushing this part can lead to cracking and uneven surfaces.
Tips for Achieving a Professional Finish
Achieving a professional-quality finish when hanging drywall on 10-foot walls requires attention to detail. Here are some additional tips:
- Use the Right Number of Screws: Using too few screws can result in sagging drywall, while too many can damage the sheet. Stick to the guideline of screws spaced 12 inches apart on the edges and 16 inches apart in the field.
- Avoid Over-Sanding: Sanding too aggressively can damage the drywall paper or remove too much joint compound, leading to uneven surfaces. Sand lightly and use a fine-grit sanding block to avoid over-sanding.
- Prime Before Painting: After taping, mudding, and sanding, it’s essential to prime the drywall before applying any paint. Drywall primer seals the surface and helps the paint adhere evenly.
Common Questions About Hanging Drywall on 10-Foot Walls
How Long Does It Take to Install Drywall on 10-Foot Walls?
The time it takes to hang drywall depends on your experience, the size of the room, and whether you’re working alone or with a helper. For an experienced installer, hanging drywall on a 10-foot wall can take about 20-30 minutes per wall section (from hanging to screwing). However, if you’re new to drywall, plan for about 1 hour per wall.
Do I Need a Drywall Lift for 10-Foot Walls?
While not necessary, a drywall lift is highly recommended for taller walls like 10-foot walls. Lifting heavy drywall sheets into position on tall walls can be difficult and dangerous without one, especially if you’re working alone. You can rent a drywall lift from most home improvement stores if you don’t want to buy one.
Conclusion: Master the Art of Hanging Drywall on 10-Foot Walls
Hanging drywall on 10-foot walls may seem intimidating, but with the right approach, tools, and techniques, it’s doable—even for beginners. Whether you’re finishing a basement, remodeling a room, or building a new space, following these steps will help ensure that your drywall installation looks professional and lasts for years to come.
By focusing on preparation, proper technique, and a steady hand during the finishing process, you can achieve smooth, flawless walls—even at 10 feet high!

