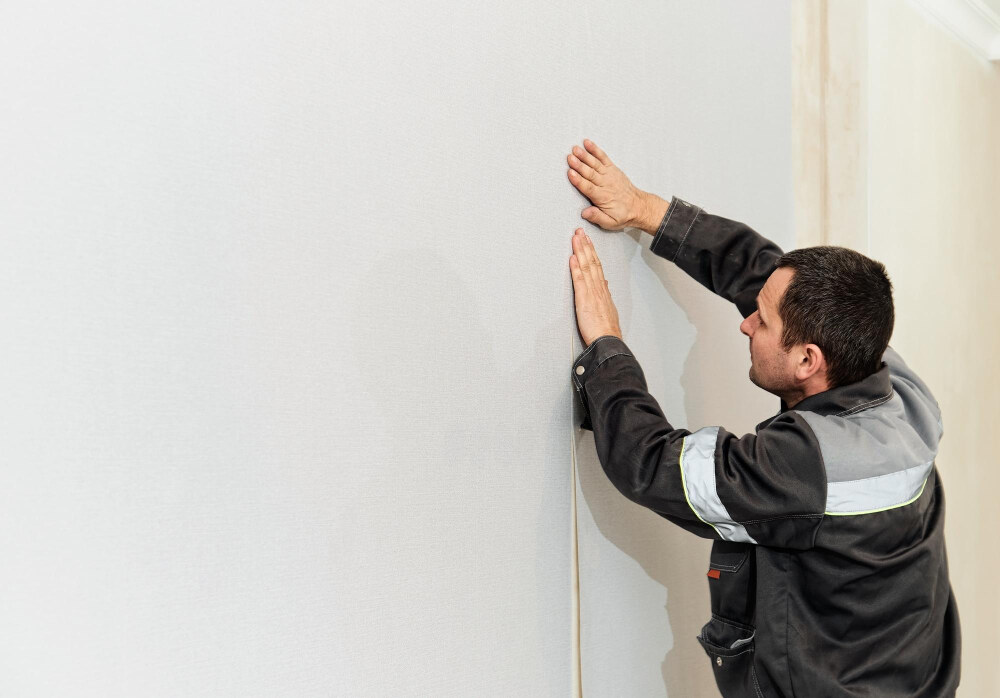
One of the most frustrating issues homeowners face after completing a drywall installation is drywall tape showing through the paint. You’re probably here because you’ve noticed that unsightly seam after your fresh coat of paint has dried, and you want to know how to fix drywall tape showing through paint effectively. Don’t worry—you’ve come to the right place! This guide will walk you through the process of fixing this problem, ensuring that your walls look smooth and flawless.
In this comprehensive guide, we’ll discuss what causes drywall tape to show through the paint, the tools you need, and step-by-step instructions for resolving the issue. Additionally, we’ll cover common mistakes to avoid and tips to achieve a seamless finish.
Why Is My Drywall Tape Showing Through the Paint?
First, let’s address the issue head-on. Drywall tape shows through paint for a variety of reasons, but the most common cause is an improper application of joint compound during drywall installation. The tape is designed to cover the seams between sheets of drywall and is then coated with joint compound (or “mud”). When not enough mud is applied, or when the surface isn’t sanded and primed properly, the tape remains visible after painting.
Other factors that can contribute to this problem include:
- Using Glossy Paint: Glossy paint can highlight imperfections, making the tape stand out more.
- Inadequate Sanding: If the mud isn’t sanded evenly, the texture will appear rough or uneven.
- Skipping Primer: Not using primer can cause the paint to adhere unevenly, making the tape visible through the paint.
Now that we know the main culprits, let’s dive into how to fix drywall tape showing through the paint.
How to Fix Drywall Tape Showing Through Paint (Step-by-Step)
Step 1: Remove the Paint from the Affected Area
The first step in fixing drywall tape showing through paint is to remove the paint from the area where the tape is visible. This is especially crucial if you’ve used glossy paint, as its smooth and non-porous surface can make it difficult for new joint compounds to adhere properly.
Here’s how to do it:
- Use Wet & Dry Sandpaper: Soak an 80-grit sandpaper in water and gently sand the affected area where the tape is visible.
- Dry Sanding: After wet sanding, switch to dry 80-grit sandpaper and continue sanding the area until the paint is sufficiently removed. The goal is to expose the drywall mud underneath the paint.
Note: If you didn’t use glossy paint, a light sanding with dry 80-grit sandpaper should be enough to rough up the surface for the joint compound to adhere.
Step 2: Apply Joint Compound
Now that you’ve removed the paint, it’s time to address the real problem—the lack of joint compound over the tape. Properly applying joint compounds is key to preventing the tape from showing through the paint.
- Prepare the Joint Compound: Mix the joint compound with a bit of water until it reaches a thick consistency, but is not too runny.
- Apply a Thin Layer: Using a 6-inch drywall taping knife, apply a thin and even coat of the joint compound over the drywall tape. Make sure to spread the compound beyond the edges of the tape for a smooth transition.
Pro Tip: Apply only enough compound to cover the tape; using too much can create bumps that will be noticeable even after sanding.
Step 3: Skim the Mudded Area
Skimming helps ensure the mudded area is smooth and blends with the rest of the wall. Here’s how to do it:
- Use the Taping Knife: Gently scrape the taping knife over the mudded area from end to end, removing any excess compound. This will thin out the mud and make the surface even.
- Check for Bumps or Gaps: Inspect the area to make sure the tape isn’t visible. If needed, apply an additional coat of joint compound to cover any remaining gaps.
Pro Tip: Be cautious not to over-skim. You want the tape to be fully covered but with a smooth, even layer.
Step 4: Let the Joint Compound Dry
Now that you’ve applied the joint compound, it’s crucial to let the area dry completely. Many people make the mistake of rushing to the next step, which can lead to cracking or uneven surfaces.
- Drying Time: Allow the joint compound to dry for at least 24 hours. If the mud isn’t fully dry before you proceed to the next step, you risk having to start over.
Step 5: Sand the Mudded Area
Once the joint compound is dry, it’s time to sand the area. Sanding smooths the surface and helps blend the new mud with the rest of the wall.
- Use 150-grit Sandpaper: Lightly sand the area in circular motions. Be gentle—you don’t want to remove too much compound, just enough to make the surface smooth.
- Wipe the Area: After sanding, wipe down the area with a dry cloth to remove dust.
Pro Tip: Avoid aggressive sanding, as it can remove too much joint compound and cause the tape to show through again.
Step 6: Apply Primer
After sanding, it’s essential to apply a primer before you repaint the wall. Primer creates a smooth surface for the paint to adhere to and prevents the tape from showing through the final coat.
- Choose a High-Quality Primer: Use a latex-based drywall primer, which is ideal for creating an even surface.
- Apply a Thin Coat: Using a paintbrush or roller, apply a thin coat of primer over the mudded area. Ensure that the primer covers the entire patch as well as a few inches beyond it to blend with the existing wall.
- Let the Primer Dry: Allow the primer to dry for at least 2 to 3 hours.
Pro Tip: Don’t skip the primer! It’s one of the most important steps in ensuring that the tape doesn’t show through the paint.
Step 7: Repaint the Wall
Now that you’ve prepared the surface, it’s time to paint. Make sure to use the same color and finish of paint that was used on the rest of the wall to ensure a seamless look.
- Use a Clean Brush or Roller: Apply a thin, even coat of paint over the primed area. Be careful not to apply too much paint at once, as this can lead to drips or uneven coverage.
- Check for Coverage: After the first coat dries, check to see if the patched area blends well with the rest of the wall. If necessary, apply a second coat for full coverage.
Pro Tip: Always follow the manufacturer’s drying time instructions on the paint can to avoid smudging or streaking.
Common Mistakes to Avoid When Fixing Drywall Tape Showing Through Paint
As with any home improvement project, mistakes can happen. Here are some common pitfalls to avoid when fixing drywall tape:
Not Sanding Enough
If you don’t sand the area thoroughly, the mud won’t blend with the rest of the wall, and the repair will be noticeable.
Rushing the Drying Process
Whether it’s the joint compound or primer, not allowing enough drying time can lead to cracking or uneven finishes.
Skipping Primer
Primer is essential to ensure even paint coverage. Skipping this step can result in the tape showing through again.
Using Glossy Paint
Glossy paint tends to highlight imperfections. If possible, opt for matte or eggshell finishes, which are more forgiving.
FAQs About Fixing Drywall Tape Showing Through Paint
Why is my drywall tape visible after painting?
Drywall tape is usually visible due to improper application of the joint compound. If not enough mud is applied, the tape will show through the paint. Another common reason is the use of glossy paint, which tends to highlight imperfections.
Can I use spackle instead of joint compound?
Spackle is generally used for smaller holes or minor repairs. For fixing drywall tape, joint compound is a better option because it’s designed for covering seams and can be applied more smoothly.
How long does it take to fix drywall tape showing through paint?
The entire process can take anywhere from 2 to 3 days, depending on the drying time of the joint compound, primer, and paint. It’s important to let each layer fully dry before moving to the next step.
Conclusion: Fixing Drywall Tape Showing Through Paint Like a Pro
Dealing with drywall tape showing through paint can be frustrating, but with the right approach, tools, and patience, you can fix the problem and have your walls looking smooth and flawless. Remember, the key to success is following each step carefully—sanding, applying the right amount of joint compound, using primer, and giving enough drying time.
By following this guide on how to fix drywall tape showing through the paint, you’ll be able to achieve a professional finish that will last for years. So, don’t rush the process, take your time, and soon enough, you’ll have a wall that’s free from visible tape seams and ready to impress!
Now that you know how to fix drywall tape showing through paint, you can confidently tackle this issue and restore the appearance of your walls.

