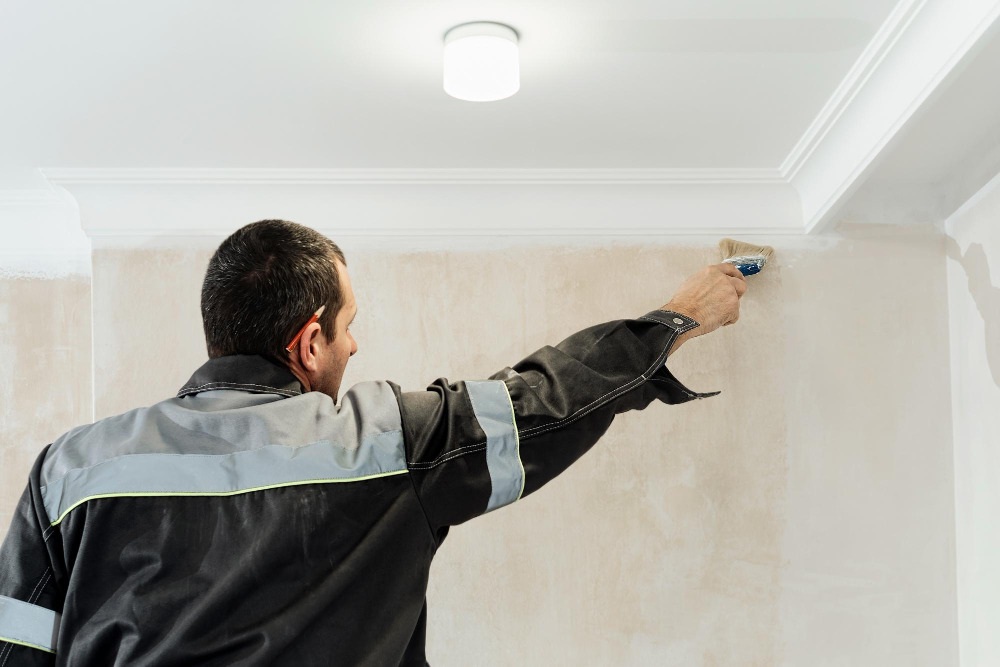
Finishing inside drywall corners may seem like a straightforward task, but it requires precision and attention to detail. Whether you’re a DIY enthusiast or a seasoned contractor, mastering this skill can elevate the quality of your drywall installation. In this guide, I’ll walk you through the entire process, sharing insights from my 20 years of experience in the drywall industry. Let’s dive in and make those corners crisp and professional!
Understanding Inside Corners in Drywall
Before we get into the nitty-gritty of finishing techniques, it’s essential to understand what inside corners are and why they are critical in drywall installation. Inside corners are the junctions where two drywall panels meet at an angle of less than 180 degrees, typically found in areas like rooms, hallways, and ceilings. Properly finishing these corners is crucial for both aesthetics and durability.
Importance of Proper Drywall Corner Finishing
Finishing inside corners correctly not only enhances the overall appearance of your walls but also helps prevent issues like cracking, peeling, and moisture intrusion. Corners are more susceptible to damage because they are often subject to impact and wear. By taking the time to finish them properly, you ensure that your drywall will stand the test of time and maintain its beauty.
Tools and Materials for Finishing Inside Drywall Corners
Before you start the finishing process, gather all the necessary tools and materials. Having everything on hand will make your work smoother and more efficient.
Essential Tools
- Drywall Taping Knife: A 6-inch knife for applying mud and a 12-inch knife for feathering out the seams.
- Mud Pan: To hold your joint compound.
- Joint Compound (Mud): Use pre-mixed joint compound for ease of application.
- Drywall Tape: Either paper or fiberglass tape works well.
- Sandpaper: Use fine-grit sandpaper (120-150 grit) for smoothing the corners.
- Sanding Block or Sponge: To hold your sandpaper and for easier maneuvering.
Additional Materials
- Primer: To seal the joint compound before painting.
- Paint: Your choice of color for the finished look.
- Protective Gear: Dust mask and goggles to keep yourself safe while sanding.
Step-by-Step Guide to Finishing Inside Drywall Corners
Now that you have your tools and materials ready, it’s time to get down to the actual finishing. Follow these steps for a flawless finish on your inside drywall corners.
Step 1: Prepare the Corner
Begin by ensuring that your drywall is properly installed. Check for any protruding screws or nails, and make sure the drywall is flush with adjacent surfaces. If necessary, use a utility knife to trim any uneven edges.
Step 2: Apply the Tape
- Cut the Tape: Measure and cut a piece of drywall tape to fit the length of the corner.
- Mud the Corner: Using your 6-inch taping knife, apply a thin layer of joint compound to the corner. Aim for a width of about 2-3 inches on either side of the corner.
- Embed the Tape: Press the tape into the wet joint compound, ensuring it adheres well. Use your knife to smooth it down and remove any air bubbles.
Step 3: Apply the First Coat of Compound
- Add More Compound: Using the 6-inch knife, apply another layer of joint compound over the tape. Feather the edges so that the compound gradually tapers out from the corner.
- Smooth It Out: Scrape off any excess compound with your knife to ensure a smooth finish. This coat should be as thin as possible while still covering the tape.
Step 4: Let It Dry
Allow the first coat to dry completely, which usually takes 24 hours, depending on the humidity and temperature. A good tip is to check the manufacturer’s instructions for drying times.
Step 5: Sand the First Coat
Once the compound is dry, use your sanding block or sponge to smooth out any rough areas. Be gentle to avoid damaging the tape underneath. You want the surface to be smooth but not so thin that you expose the tape.
Step 6: Apply the Second Coat
- Use the 12-inch Knife: Apply a wider coat of joint compound using your 12-inch knife. This coat should extend about 4-6 inches from the corner.
- Feather the Edges: Just like the first coat, feather the edges for a smooth transition to the wall surface.
- Allow It to Dry: Wait for the second coat to dry completely, usually 24 hours.
Step 7: Sand Again
After the second coat is dry, lightly sand the area to achieve a smooth finish. Ensure that the surface is flush with the surrounding drywall.
Step 8: Apply a Final Coat
For optimal results, apply a final coat of joint compound. Use the same technique as before, but aim for an even thinner layer. This will help achieve a professional-grade finish.
Step 9: Final Sanding and Cleaning
Once the last coat is dry, give it a final sanding. Make sure the corner is perfectly smooth and clean up any dust before moving on to painting or priming.
Tips for Achieving Perfect Finish Inside Drywall Corners
Use Good Quality Tape: Choosing the right tape can make a significant difference. Fiberglass tape is more forgiving, while paper tape can provide a sharper finish if applied correctly.
Don’t Rush: Allow adequate drying time between coats. Rushing this process often leads to cracks and imperfections.
Feathering Technique: Feathering out the edges is key. This technique helps to hide the seams and create a seamless appearance.
Stay Clean: Keep your workspace clean. Dust and debris can get trapped in the joint compound, leading to a rough finish.
Use the Right Lighting: Check your work in different lighting conditions. Natural light can help you spot imperfections you might miss under artificial light.
Troubleshooting Common Issues while Finishing Inside Drywall Corners
Even with the best techniques, you might encounter some issues while finishing inside drywall corners. Here’s how to troubleshoot them.
Cracking
Cause: Cracking usually happens when the joint compound is too thick or dries too quickly.
Solution: Ensure that your coats are thin and allow ample drying time. If cracks appear, you can apply a thin layer of joint compound over the crack and sand it smooth.
Bubbles or Blisters
Cause: These can occur if air gets trapped under the tape.
Solution: If you notice bubbles, use your knife to poke a small hole and smooth out the area with compound. Sand it down once dry.
Uneven Surface
Cause: This can result from uneven application of the compound.
Solution: If the surface is uneven after sanding, you may need to apply another thin coat of joint compound to level it out.
Conclusion
Finishing inside drywall corners may seem challenging, but with the right tools, techniques, and a bit of patience, you can achieve professional-quality results. By following this guide and applying these tips, you’ll not only enhance the beauty of your home but also ensure that your drywall lasts for years to come.
Remember, practice makes perfect! Each project will provide you with the experience needed to hone your skills further. If you have any questions or need more tips, feel free to ask. Happy drywalling!

