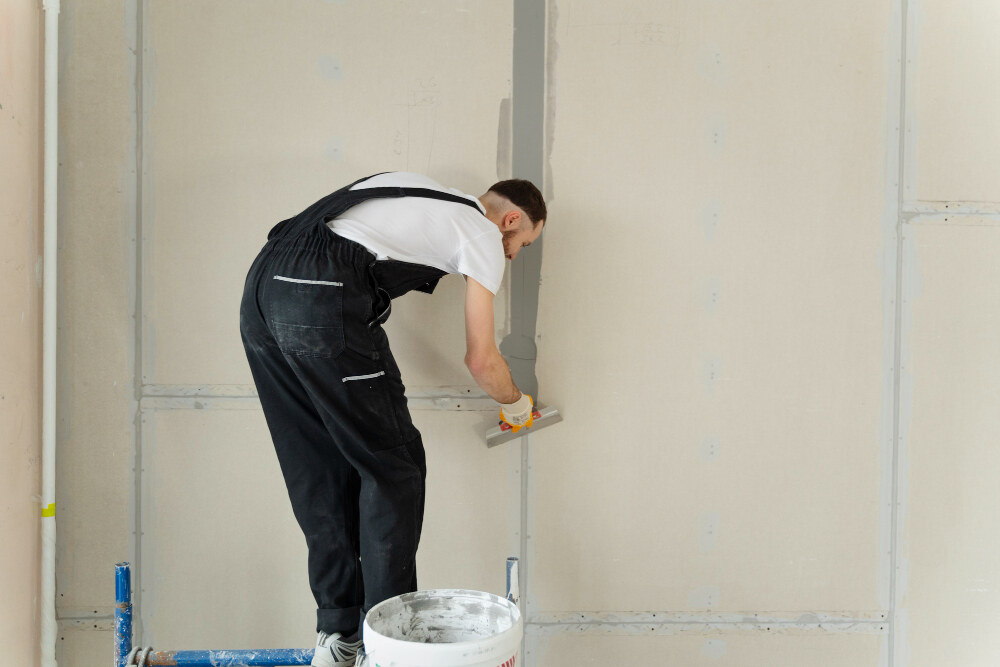
Mudding drywall with mesh tape can be an intimidating process, especially if you’re new to drywall installation. However, with the right tools and techniques, achieving a smooth, professional finish is possible—even for DIY enthusiasts. In this comprehensive guide, we’ll walk you through how to mud drywall with mesh tape step by step. By the end, you’ll have all the knowledge you need to confidently complete this task.
Drywall mudding is a key step in creating flawless walls. Without properly applied mud, seams between drywall sheets will show through paint or wallpaper. The use of mesh tape in particular requires a specific method of mudding, which differs slightly from using paper tape. So if you’re ready to learn the process and ensure your drywall looks its best, let’s get started!
What You Need to Know About Mudding Drywall With Mesh Tape
Mesh tape is a popular choice for covering drywall joints, thanks to its self-adhesive properties and ease of use. Unlike traditional paper tape, which requires embedding in a wet joint compound, mesh tape sticks to the wall, making it easier to work with for beginners. However, since mesh tape has an open, woven design, it needs extra care when applying mud to prevent cracks and ensure a smooth finish.
Mudding drywall with mesh tape requires at least three coats of drywall mud, and each coat serves a different purpose. The first coat adheres to the tape, the second coat smooths it out, and the final coat finishes the surface in a smooth, paint-ready condition. Here’s a detailed look at how to mud drywall using mesh tape, ensuring a professional finish every time.
How to Mud Drywall with Mesh Tape (4 Easy Steps)
Step 1: Apply the First Coat of Mud Over Mesh Tape
The first coat of drywall mud is the most crucial because it binds the mesh tape to the drywall and forms the base for the subsequent layers.
What You’ll Need:
- Quick-setting joint compound (recommended for the first coat)
- A 12-inch taping knife
- Mesh tape (already applied to the joints)
Step-by-Step Process:
- Prepare the Joint Compound: Start by mixing the joint compound according to the manufacturer’s instructions if you’re using a powder-based product. If you’re using a pre-mixed joint compound, ensure it’s smooth and free of lumps.
- Apply Mud Along the Tape: With a little bit of joint compound on the corner of your 12-inch taping knife, apply a thin layer of mud along the length of the mesh tape. Hold the knife at a slight angle to ensure even pressure.
- Keep It Thin: Remember, the first coat should be as thin as possible. Since mesh tape is self-adhesive and sits on the surface of the drywall, your goal is to embed the tape with just enough mud to cover it completely.
- Smooth It Out: After applying mud over the entire taped joint, use the same taping knife to smooth out the compound. Run the knife along the joint again to remove any excess mud and ensure an even, flat surface.
Pro Tip: Always use a quick-setting joint compound for the first coat when working with mesh tape. Quick-setting compounds are lighter, dry faster, and are easier to sand than all-purpose joint compound. Once you’ve applied the first coat, let it dry for about 24 hours before moving on to the next step.
Step 2: Flatten the Drywall Joints
Once the first coat of mud is completely dry, it’s time to check and flatten the drywall joints. This step is important to ensure the joints are level before applying the second coat.
Tools You’ll Need:
- A 6-inch taping knife
- A 12-inch taping knife for checking flatness
How to Flatten the Joints:
- Scrape the Center of the Joint: Take your 6-inch taping knife and gently scrape along the center of the joint. The goal is to remove any high spots or ridges that may have formed during the drying process.
- Check for Flatness: Place your 12-inch taping knife across the joint to check for flatness. If the joint appears uneven, scrape it again with your 6-inch knife until the surface is flat.
- Repeat if Necessary: If the joint still doesn’t seem flat after scraping, don’t worry—this is normal after the first coat. You may need to repeat the scraping process once or twice to get the desired smoothness.
Note: This step ensures that your second coat of mud goes on smoothly without any bumps or ridges from the first coat.
Step 3: Apply the Second Coat of Mud
The second coat is where you’ll begin to fill out the joint and make it look more like the finished product. This coat is typically thicker than the first, and you’ll use an all-purpose joint compound.
Materials and Tools Needed:
- All-purpose joint compound
- 12-inch taping knife
Here’s How to Apply the Second Coat:
- Get a Generous Amount of Mud: Load up the sides of your taping knife with an all-purpose joint compound. You don’t need to coat the entire knife—just load enough mud onto the edges to cover the joint as you work.
- Apply Mud to One Side: Starting on one side of the joint, use the mud on the right side of your knife to apply pressure and spread it across the right side of the joint. Repeat the same process on the left side.
- Avoid Piling Mud in the Center: When applying the second coat, try to avoid building up excess mud in the center of the joint. You want a smooth, even distribution across the sides of the joint without a thick ridge in the middle.
- Smooth the Entire Joint: Once both sides are coated, use your 12-inch taping knife to smooth out the entire joint from one end to the other. Check the flatness again, and make adjustments as necessary. Allow this coat to dry for 24 hours.
Pro Tip: The second coat of drywall mud will typically require more material than the first coat. Be sure to use broad strokes with your knife and apply even pressure for the smoothest finish.
Step 4: Sand the Mudded Area
After the second coat is completely dry, it’s time to sand the joints. Sanding is an essential part of the process because it ensures the mud is smooth and level, giving you that professional finish.
Tools Needed for Sanding:
- An orbital sander or sanding block
- Fine-grit sandpaper
How to Sand the Joints:
- Start with Light Pressure: If you’re using an orbital sander, apply light pressure and move the sander evenly across the mudded area. This will help you avoid creating dips or uneven surfaces.
- Check for Smoothness: After you’ve sanded the entire area, run your hand over the joint to check for any rough spots. You want the area to feel completely smooth to the touch
- Take Your Time: Sanding is a delicate process, and rushing can result in over-sanding. This can lead to unevenness or sanding through the mesh tape.
Pro Tip: For the best results, many professionals recommend using an orbital sander, as it saves time and ensures an even finish. A high-quality sander like the Makita orbital sander works exceptionally well for drywall jobs.
Frequently Asked Questions (FAQs)
Can You Use an All-Purpose Joint Compound With Mesh Tape?
Yes, you can use an all-purpose joint compound with mesh tape, but it’s important to start with a quick-setting compound for the first coat. This is because mesh tape has a more open weave than paper tape, and a quick-setting compound helps provide a stronger bond. Once you’ve applied the first coat, you can switch to an all-purpose compound for the remaining coats.
How Many Coats of Mud Do You Need?
Typically, drywall requires a minimum of three coats of mud: the first to embed the tape, the second to smooth the joint, and the third to finish it. For most walls, three coats are sufficient, but in some cases, additional coats may be needed to achieve a perfectly smooth surface.
What Size Knife Should You Use?
The best knives for mudding drywall with mesh tape are a 6-inch knife for scraping and flattening joints and a 12-inch knife for applying the mud. The larger knife allows for wider, smoother strokes, making it easier to get a flat, even finish.
Conclusion: Mastering How to Mud Drywall With Mesh Tape
Learning how to mud drywall with mesh tape can make a significant difference in the quality of your drywall installation. While the process requires patience, following each step carefully—applying thin coats of mud, sanding properly, and using the right tools—will ensure your walls have a flawless, professional finish. Whether you’re a seasoned DIYer or a first-timer, this guide provides the key information you need to tackle the task with confidence. Remember, proper technique and attention to detail are the keys to mastering drywall mudding with mesh tape.
By taking your time and using the tips outlined here, you can avoid common pitfalls and create smooth, seamless drywall joints that are ready for painting or finishing. So grab your tools, and you’re well on your way to achieving perfect drywall joints!

