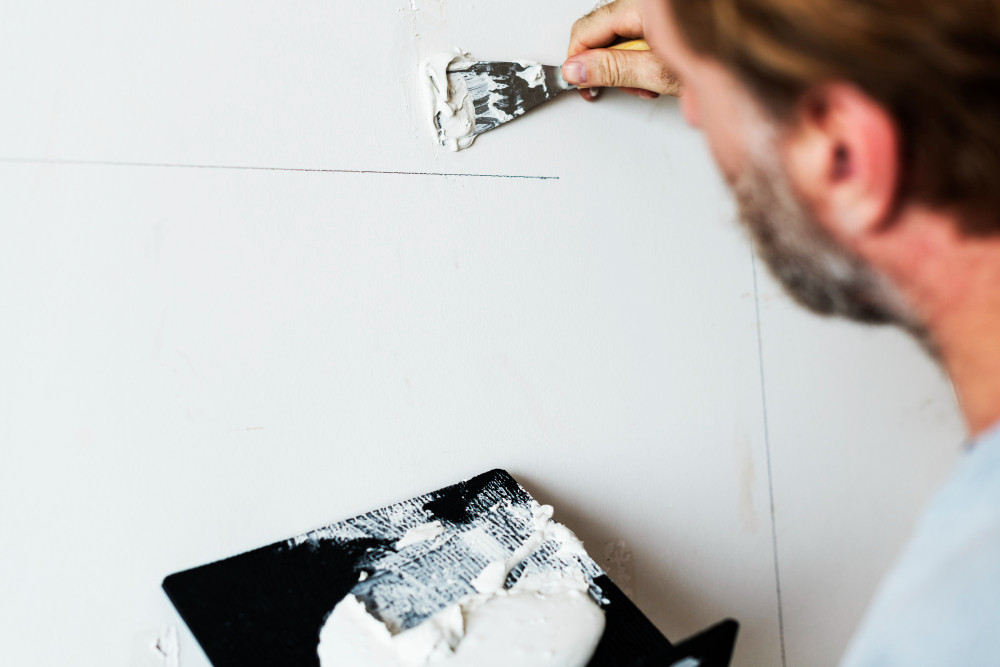
One of the common problems homeowners encounter after a drywall installation is a bad mud job. This usually happens when the drywall mud, or joint compound, is applied unevenly or improperly, creating visible imperfections on the wall surface. Whether you attempted to do it yourself or hired someone with less experience, a poor mudding job can detract from the appearance of your walls. Luckily, fixing a bad mud job on painted drywall is possible with the right tools, patience, and technique.
In this comprehensive guide, we will walk you through how to fix a bad mud job on painted drywall, providing a detailed step-by-step approach that even beginners can follow. We’ll also cover common signs of poor drywall mudding and provide tips for achieving a professional finish. By the end of this article, you’ll have all the knowledge you need to restore your drywall to a smooth, flawless condition.
Understanding the Signs of a Bad Mud Job on Painted Drywall
Before jumping into the repair process, it’s important to know what a bad mud job looks like. Drywall-mudding errors can manifest in several ways, and recognizing these issues will help you better target the areas that need fixing. Below are the most common signs:
Bumps and Bubbles on the Drywall Surface
Uneven bumps, ridges, or bubbles are classic indicators of a bad mud job. These imperfections usually occur when too much mud is applied or spread unevenly. In some cases, improper drying can also cause bubbles to form under the surface.
Visible Drywall Joints
If you can still see the drywall joints (the seams between drywall sheets) through the paint, it’s a clear sign that not enough mud was applied, or the mud wasn’t properly feathered out. This creates an uneven look that detracts from the overall smoothness of the wall.
Exposed Fasteners or Tape
Drywall fasteners (screws or nails) and joint tape should be completely concealed by mud. If they are visible under the paint, it indicates that the mudding was done improperly, or the installer used low-quality materials. Visible tape and fasteners give your walls an unfinished, sloppy appearance.
How to Fix a Bad Mud Job on Painted Drywall: 4 Simple Steps
If you’ve spotted any of the above signs, don’t worry! Fixing a bad mud job on painted drywall is straightforward with the following four steps. Here’s how to do it:
1. Flatten the Major Bumps
The first step to repairing your drywall is to address any major bumps or imperfections. You’ll need a taping knife, a putty knife, or another sharp-edged tool to scrape off the excess mud carefully. Here’s how to do it:
- Use a taping knife to gently scrape off any noticeable mud bumps. Take your time, and make sure you don’t gouge the drywall itself.
- If there are any bubbles in the mud, puncture them with a small pin or needle and smooth the surface.
- Brush off any dust or debris with a dry paintbrush to prepare the area for the next steps.
Tip: Wear protective eyewear to avoid dust and debris getting into your eyes during this step.
2. Apply a Good Quality Primer
Now that the major imperfections are flattened, it’s time to prime the drywall. A good-quality primer will help seal the surface and create a uniform base for applying more mud. This step is crucial, especially if you’re working on painted drywall.
- Use a roller or a paintbrush to apply a coat of primer over the repaired areas.
- Ensure the primer is spread evenly from one edge to the other.
- Allow the primer to dry completely (usually about 1 hour) before moving on to the next step.
3. Apply a Skim Coat
Once the primer has dried, the next step is to apply a skim coat to the wall. A skim coat is a thin layer of drywall mud designed to smooth out imperfections and create a flawless finish.
- Mix the drywall mud (joint compound) to a smooth consistency, ensuring there are no lumps.
- Use a 6-inch taping knife to spread a thin layer of mud over the repaired areas. Apply it in long, smooth strokes to ensure an even coat.
- Allow the first coat to dry for several hours or overnight before applying a second coat.
- After the first coat has dried, apply a second, even thinner coat. The goal is to feather out the edges so the repaired area blends seamlessly with the surrounding wall.
4. Remove Dust and Residue
After the skim coat has dried, it’s time to remove any dust and residue that may have settled on the surface. While sanding is an option, it’s often unnecessary, especially if you apply the mud carefully. Instead, use a soft sponge:
- Lightly dampen the sponge and wipe down the surface to remove dust and residue.
- Be gentle, as too much pressure can disturb the mud.
Allow the wall to fully dry for a couple of hours, and then you’re ready for the final touch: paint!
Tips for Achieving a Smooth Drywall Finish
Achieving a professional-looking drywall finish requires patience and the right technique. Below are some additional tips to help you perfect your drywall mudding:
1. Use the Right Tools
The tools you use will make a significant difference in the quality of your drywall finish. Invest in good-quality taping knives, a mud pan, and a sanding sponge. These tools will help you achieve smoother, more consistent results.
2. Work in Thin Layers
When applying drywall mud, remember that less is more. Working in thin layers allows the mud to dry more evenly and reduces the likelihood of bumps and ridges. It also makes it easier to sand down any high spots if necessary.
3. Feather the Edges
Feathering the edges of the mud is essential for creating a seamless transition between the repaired area and the surrounding wall. To do this, apply less pressure on the edges of your taping knife as you spread the mud, creating a gradual, smooth transition.
4. Allow Ample Drying Time
One of the most common mistakes people make when fixing drywall is rushing through the drying process. Each layer of mud needs to dry completely before applying the next layer. This helps prevent bubbling and cracking. Patience is key!
Conclusion: Fixing a Bad Mud Job on Painted Drywall
Fixing a bad mud job on painted drywall doesn’t have to be overwhelming. With the right tools and approach, you can transform your walls from rough and bumpy to smooth and flawless. Just remember to take your time, follow each step carefully, and use quality materials for the best results.
By flattening major bumps, applying primer, skim coating the wall, and removing dust and residue, you’ll be able to correct any drywall imperfections and create a professional-looking finish. Don’t rush the process, and you’ll be rewarded with beautiful, smooth walls that enhance the look of your home.
Whether you’re fixing your DIY project or correcting a poor job done by a contractor, these steps will help you fix the issue and leave your drywall looking as good as new. Now that you know how to fix a bad mud job on painted drywall, you can tackle your next home improvement project with confidence. Happy repairing!

