Installing drywall is an exciting step in home renovation. It’s the stage where you start to see the transformation of your space. However, along with this comes one unavoidable task—cleaning up drywall dust. These fine particles spread across every surface, turning your home into a construction zone. Knowing how to clean off drywall dust effectively can save you hours of frustration and ensure your home returns to a dust-free, comfortable environment.
In this comprehensive guide, we’ll not only cover the best strategies for cleaning drywall dust, but also share useful tips on how to prevent it from spreading, making your cleanup job much easier. Whether you’re a DIY enthusiast or hiring professionals, this guide has everything you need to know to keep your home dust-free. Let’s dive in!
Why is Drywall Dust So Hard to Clean?
Before we get into how to clean off drywall dust, it’s essential to understand why it can be such a hassle. Drywall dust is made of fine particles of gypsum, silica, and possibly other compounds, depending on the materials used. Unlike regular household dust, drywall dust is much finer and lighter, allowing it to easily float through the air and settle in nooks, crannies, and even in your HVAC system.
One of the biggest challenges with drywall dust is its tendency to spread far beyond the room where drywall work is being done. Without proper precautions, these particles can end up in every corner of your home, making cleanup more time-consuming and labor-intensive. Add to that the fact that drywall dust can irritate the eyes, throat, and lungs, especially for those with allergies or respiratory conditions, and you can see why it’s so important to address it properly.
How to Prepare for Cleaning Drywall Dust
The best way to reduce the amount of dust you’ll have to clean is to take some preventative steps before drywall installation begins. By preparing your space in advance, you’ll minimize the spread of dust and make the eventual cleanup process much easier.
1. Clear the Room of Small Items
The first step is to remove as many small items as possible from the room where drywall is being installed. This includes personal belongings, books, decor, and anything else that is easy to move. By doing this, you’ll reduce the amount of dust that settles on surfaces and objects, saving you time during the cleanup process.
For larger pieces of furniture that are difficult to move, simply covering them with plastic sheeting will do the trick. This will protect your furniture from becoming coated with dust and will prevent dust from settling in crevices that are hard to clean.
2. Seal Off the Work Area
One of the most effective ways to prevent drywall dust from spreading to other areas of your home is by sealing off the room where the work is being done. Use plastic sheeting to cover doorways and windows, and tape around the edges to create a tight seal. If you have an HVAC system running, turn it off to prevent dust from circulating through your ducts and vents.
If you can’t seal off the room entirely, at least close doors and windows to contain the dust as much as possible.
3. Reduce Humidity
If your home is humid, drywall dust can become sticky and harder to clean. Using a dehumidifier or fans can help reduce the humidity levels, keeping dust particles from clumping together and sticking to walls and surfaces. This simple step can make all the difference when it comes to cleanup.
How to Clean Off Drywall Dust: Step-by-Step Methods
Now that you’ve prepared your space, it’s time to tackle the dust itself. The key to cleaning drywall dust effectively is to use the right tools and methods. Here are the top ways to clean drywall dust from your home.
1. Use a Vacuum Cleaner with a HEPA Filter
If you want to remove drywall dust efficiently, a vacuum cleaner is your best friend—especially if it’s equipped with a high-efficiency particulate air (HEPA) filter. HEPA filters are designed to capture even the finest particles, ensuring that drywall dust is trapped and not just blown back into the air.
Step 1: Begin by vacuuming the floors, focusing on areas where dust tends to collect, like corners and along baseboards.
Step 2: Use a soft brush attachment to vacuum walls, ceilings, and furniture.
Step 3: Don’t forget to vacuum around vents and light fixtures, as dust tends to settle in these areas.
A vacuum cleaner with a HEPA filter is particularly helpful for people who suffer from allergies, as it ensures that no dust is recirculated into the air.
2. Dusting and Damp Wiping
If you don’t have a vacuum cleaner with a HEPA filter or prefer a more hands-on approach, the combination of dry dusting and damp wiping is an effective way to remove drywall dust.
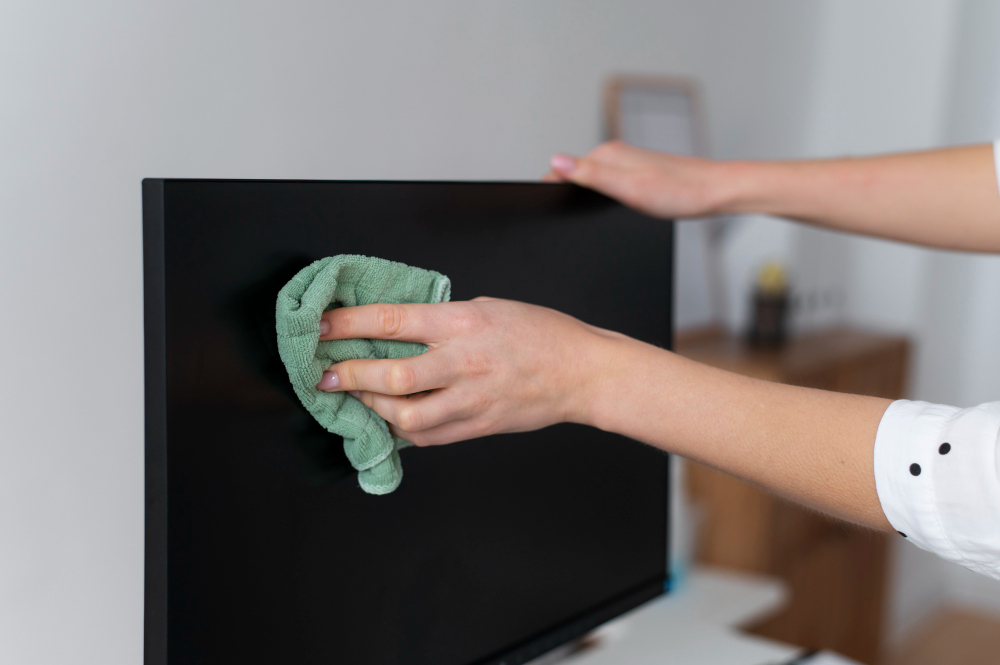
Step 1: Use a dry microfiber cloth or a duster to remove the top layer of dust from surfaces. Microfiber cloths work well because they trap dust rather than just pushing it around.
Step 2: After dry dusting, follow up with a damp cloth to wipe down surfaces and pick up any remaining dust. Use a bucket of clean water and rinse your cloth frequently to avoid spreading the dust around.
Step 3: For areas like electronic devices, where moisture can be problematic, stick with dry dusting or use a tack cloth to remove dust.
This method is especially useful for cleaning surfaces like countertops, tables, and shelves, where dust is more likely to be visible.
3. Tack Cloth: A Pro’s Tool
A tack cloth is a sticky, resin-coated cloth specifically designed to pick up fine dust particles. It’s widely used by professional painters and contractors for cleaning surfaces before applying finishes, and it works wonders for cleaning drywall dust too.
Step 1: Simply unfold the tack cloth and lightly sweep it over dusty surfaces. It will pick up dust with ease, even from areas that may have been missed by vacuuming or dry dusting.
Step 2: Dispose of the tack cloth or clean it according to the manufacturer’s instructions once it becomes saturated with dust.
A tack cloth is perfect for those hard-to-reach areas or for final touch-ups after vacuuming and wiping.
4. Mopping the Floors
Once the bulk of the dust has been removed from other surfaces, it’s time to focus on the floors. For hard floors like tile, wood, or laminate, a mop is an essential tool for picking up the remaining dust.
Step 1: Start by using a dry mop or a microfiber broom to collect loose dust from the floor.
Step 2: Follow up with a damp mop, using water or a mild cleaning solution to remove any lingering dust.
If you have carpets, vacuuming may not be enough to get rid of all the drywall dust. Consider renting a carpet cleaner or hiring a professional carpet cleaning service to ensure that all dust is thoroughly removed.
Preventing Drywall Dust from Spreading During Installation
While cleaning up drywall dust is important, it’s equally crucial to prevent it from spreading during the installation process. The less dust that spreads, the less cleanup you’ll have to do afterward.
Use a Drywall Sander with a Vacuum Attachment
If you’re sanding drywall, using a drywall sander that comes with a built-in vacuum attachment can drastically reduce the amount of dust generated. The vacuum will suck up dust as you sand, keeping the air and surfaces much cleaner.
Wet Sanding Technique
Wet sanding is another method that reduces dust production. In this process, a damp sponge is used to smooth drywall joints instead of traditional sandpaper. Although it may take longer, it minimizes the dust created during sanding.
Health Risks of Drywall Dust
While it may seem like just another household chore, cleaning drywall dust is essential for more than just aesthetics. Exposure to drywall dust can cause respiratory issues, particularly for those with preexisting conditions like asthma or allergies. Drywall dust can irritate the eyes, throat, and lungs, and in extreme cases, long-term exposure can lead to more serious health problems.
To protect yourself during the cleanup process, always wear a mask, goggles, and gloves. If you’re working in a particularly dusty area, consider using a respirator to protect your lungs from the fine particles.
Final Touches: How to Ensure All Dust is Gone
Even after you’ve completed your initial cleanup, drywall dust has a way of lingering in unexpected places. To ensure all traces of dust are removed, consider the following tips:
Change Air Filters
After cleaning, replace the air filters in your HVAC system to prevent drywall dust from circulating through your home. This is a simple but effective way to improve air quality and ensure that any dust trapped in the filters is removed.
Clean Vents and Light Fixtures
Drywall dust can easily accumulate in vents, light fixtures, and ceiling fans. Make sure to wipe down these areas after you’ve finished cleaning the rest of your home to ensure no dust is left behind.
Wash Curtains and Upholstery
Textiles like curtains, upholstery, and rugs can trap drywall dust, even if you can’t see it. Be sure to wash or vacuum these items to remove any lingering dust particles.
Conclusion: How to Clean Off Drywall Dust with Ease
Cleaning drywall dust doesn’t have to be an overwhelming task if you follow the right steps and use the proper tools. Whether you opt for vacuuming with a HEPA filter, damp wiping, or using a tack cloth, the key is to tackle the dust as soon as possible before it has a chance to spread. By preparing your space in advance and using preventative measures like plastic sheeting and vacuum attachments, you’ll make the cleanup process much easier.
The secret to efficiently cleaning drywall dust lies in taking a methodical approach and using a combination of techniques to ensure all dust is removed. By following these tips, you’ll restore your home to its clean, dust-free state in no time.

