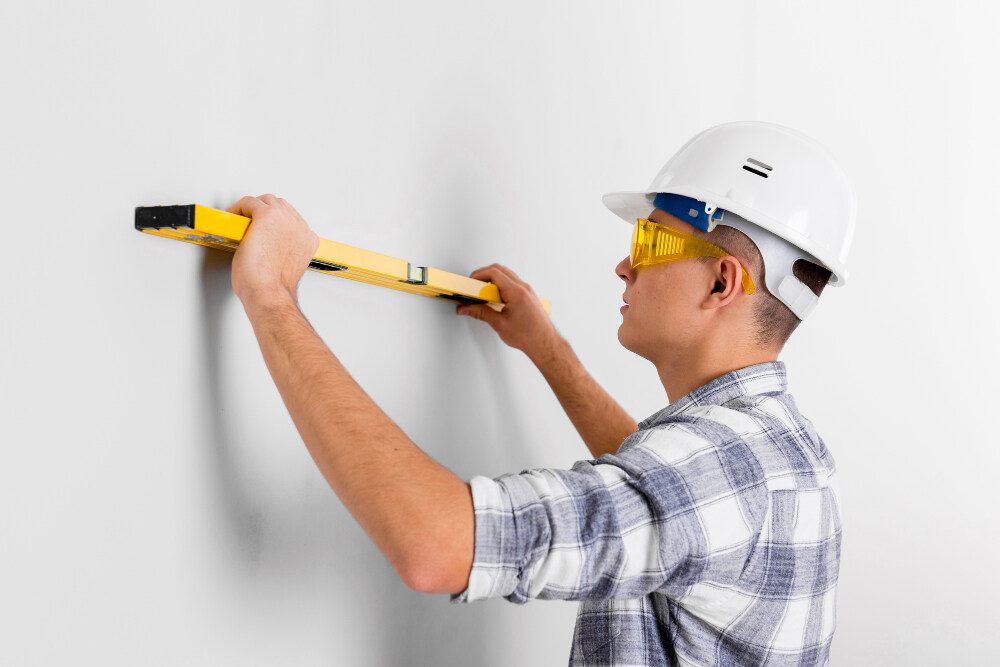
When it comes to drywall installation, understanding the time frame required can be a bit tricky. The duration of a drywall project can vary greatly depending on several factors. Whether you’re a DIY enthusiast or planning to hire professionals, knowing how long it typically takes to complete drywall work can help you plan effectively and set realistic expectations. In this comprehensive guide, we’ll explore how many days it takes to do drywall, considering various aspects that influence the timeline.
The Basics of Drywall Installation
Drywall installation involves several key steps: measuring and cutting the drywall panels, hanging them on the wall studs, taping and mudding the joints, sanding, and finally painting or finishing. Each of these steps has its own time requirements, and understanding these can help you estimate the overall duration of the project.
Factors Affecting the Drywall Installation Timeline
- Room Size and Complexity: Larger rooms or spaces with intricate layouts will naturally take more time to complete. High ceilings, multiple angles, and extensive wall areas will extend the duration of the project.
- Experience Level: A professional drywall installer will complete the job faster than a DIYer due to their expertise and experience. DIYers might take longer as they familiarize themselves with the process and tools.
- Type of Drywall and Finishing: Standard drywall is quicker to install than specialty types like moisture-resistant or fire-resistant drywall. The type of finish also affects the timeline. Smooth finishes take longer due to additional sanding and mudding.
- Preparation and Drying Time: The preparation work and drying time between coats of joint compound (mud) can add to the overall duration. Proper drying is crucial for achieving a smooth and durable finish.
Typical Timeframes for Drywall Projects
Small Projects
For a small room or area (e.g., a single wall or a small closet), the drywall installation process can be completed in about 1 to 2 days. This includes hanging, taping, and applying the first coat of mud. Additional days are required for drying and sanding.
Medium Projects
For a medium-sized room, such as a standard bedroom, expect the project to take approximately 3 to 5 days. This includes hanging, taping, mudding, sanding, and applying the final coats of paint. The time also accounts for drying periods between coats.
Large Projects
In larger spaces, such as a living room or open-plan area, drywall installation can take between 7 to 10 days or more. The extended timeline is due to the increased wall surface area, more complex finishing, and additional drying time.
Detailed Breakdown of the Drywall Process
1. Measuring and Cutting Drywall
Duration: 1 to 2 hours for a small room, up to 3 to 4 hours for larger spaces.
Details: Accurate measurement and cutting are crucial for a good fit. This step involves measuring wall dimensions, cutting drywall panels to size, and fitting them into place.
2. Hanging Drywall
Duration: 1 to 2 hours per wall or ceiling section, depending on the size.
Details: Hanging drywall involves securing the panels to the wall studs or ceiling joists. For small areas, this can be a relatively quick process, but larger rooms or ceilings can take longer.
3. Taping and Mudding
Duration: 2 to 4 hours per room for the first coat, plus additional time for subsequent coats.
Details: Taping and mudding cover the joints between drywall panels. The first coat is applied, followed by a drying period. Additional coats are added to smooth out the surface.
4. Sanding
Duration: 1 to 2 hours for small to medium rooms.
Details: Sanding is done after the mud has dried to create a smooth surface. This step may require multiple passes to ensure a flawless finish.
5. Finishing and Painting
Duration: 1 to 2 days for priming and painting, depending on the number of coats and drying times.
Details: The final step involves applying primer and paint to the drywall. Drying times between coats can extend this part of the process.
Tips to Speed Up the Drywall Process
Prepare in Advance
Ensure that all tools and materials are ready before starting the project. Having everything on hand can prevent delays and keep the workflow efficient.
Use Quick-Drying Products
Consider using quick-drying joint compounds and paints to reduce waiting times. These products can help expedite the overall process.
Hire Professionals
If time is a critical factor, hiring experienced drywall professionals can significantly speed up the project. Professionals have the skills and tools to complete the job more efficiently.
Follow Best Practices
Adhering to best practices, such as proper taping techniques and adequate sanding, ensures a smooth finish and reduces the need for extensive touch-ups.
Common Challenges and Solutions
Inconsistent Drying Times
- Challenge: Variations in humidity and temperature can affect drying times.
- Solution: Use fans or dehumidifiers to control the environment and ensure consistent drying.
Mistakes in Measurement and Cutting
- Challenge: Incorrect measurements can lead to poorly fitting drywall panels.
- Solution: Double-check measurements and cut drywall panels accurately to avoid mistakes.
Visible Seams and Joints
- Challenge: Seams and joints can become visible if not properly mudded and sanded.
- Solution: Apply multiple coats of mud and sand thoroughly between coats to achieve a seamless finish.
Conclusion
Understanding how many days it takes to do drywall involves considering various factors such as room size, complexity, and experience level. From measuring and cutting to finishing and painting, each step contributes to the overall timeline. By preparing in advance, using quick-drying products, and following best practices, you can ensure an efficient drywall project.
Whether you’re tackling a small DIY project or managing a larger renovation, knowing the time required for each phase helps in planning and setting realistic expectations. If in doubt, consulting with professionals can provide additional insights and ensure a smooth, timely completion of your drywall work.
This detailed guide should provide a comprehensive understanding of the drywall installation timeline. For any specific questions or concerns, feel free to reach out to drywall experts who can offer tailored advice and solutions.

