Owning a home means taking care of dozens of little repairs, and one of the most common and frustrating issues homeowners face is hairline cracks in drywall. While these cracks might seem harmless at first, they can quickly become an eyesore, and if ignored, they may worsen over time.
If you’ve ever wondered how to repair hairline cracks in drywall without spending a fortune on professional contractors, this comprehensive guide is for you. We’ll cover everything—from why these cracks happen, to a detailed repair process, prevention tips, and FAQs. By the end, you’ll be able to confidently handle drywall cracks like a pro.
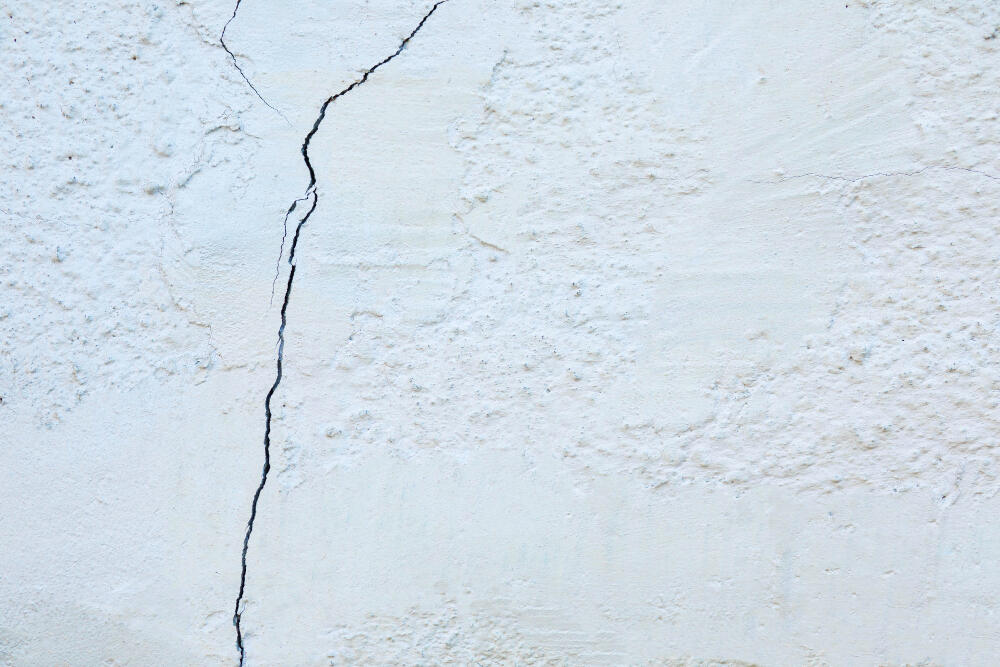
What Are Hairline Cracks in Drywall?
A hairline crack in drywall is a fine, narrow fissure typically less than 1/16 of an inch wide. They usually form along joints, corners, ceilings, and areas near doors or windows where the wall experiences more stress.
Unlike larger damage that may require drywall replacement, fixing hairline cracks in drywall is a straightforward DIY project with the right tools and patience. The key is not just repairing the crack but also understanding its cause to prevent future issues.
Why Fixing Hairline Cracks in Drywall Matters
It’s easy to dismiss a crack in your wall as “just cosmetic.” But here’s why it’s worth addressing promptly:
- Prevents worsening damage – Small cracks often expand, especially with temperature or moisture changes.
- Protects your home’s value – A home with visible drywall cracks can look poorly maintained, reducing buyer confidence.
- Stops moisture intrusion – Cracks allow humidity or water to seep in, which can weaken drywall.
- Saves money – Repairing now with joint compound and tape is far cheaper than dealing with large-scale wall replacement later.
Simply put: the sooner you fix hairline cracks in drywall, the easier and cheaper the job will be.
What Causes Hairline Cracks in Drywall?
Before diving into the repair process, let’s look at why these cracks appear in the first place:
1. Home Settling
All houses settle over time. As the foundation shifts slightly, stress builds on drywall, leading to fine cracks, especially near corners or ceilings.
2. Temperature & Humidity Fluctuations
Drywall expands in heat and contracts in cold. In regions with hot summers and freezing winters, this cycle can cause recurring cracks.
3. Moisture Issues
High humidity or water leaks soften drywall, making it prone to cracking. Basements, bathrooms, and kitchens are particularly vulnerable.
4. Poor Installation
If drywall sheets weren’t properly fastened or taped, cracks are almost inevitable. Incorrect mudding or uneven screw placement often shows up years later as hairline cracks.
5. Structural Concerns
In rare cases, cracks may point to deeper issues like foundation settling or framing problems. If cracks spread quickly or appear throughout multiple rooms, consult a structural engineer.
Tools & Materials You’ll Need
Before starting your project, gather these supplies:
- Utility knife or drywall saw
- Drywall joint compound (pre-mixed or powder)
- Drywall tape (paper or mesh)
- Putty knife (4–6 inches wide)
- Sanding sponge or 120–150 grit sandpaper
- Primer and paint (matching your wall color)
- Drop cloth and painter’s tape
- Vacuum or soft brush for cleaning dust
Step-by-Step Guide: How to Repair Hairline Cracks in Drywall
Here’s the exact process experts recommend for fixing hairline cracks in drywall so the repair blends seamlessly with your wall.
Step 1: Widen the Crack Slightly
Paradoxically, the first step is making the crack a bit bigger. Use a utility knife to gently score and widen the crack into a “V” shape.
Why? Joint compound won’t bond properly if the crack is too narrow. Widening ensures it penetrates deeply and prevents re-cracking.
Step 2: Clean the Crack
Use a brush, cloth, or vacuum to remove dust and loose debris. A clean surface is critical for adhesion.
Step 3: Apply Joint Compound
Using your putty knife, press joint compound firmly into the crack. Smooth the surface level with the surrounding drywall.
Pro Tip: Work in thin, even layers rather than one thick layer—it dries faster and looks better.
Step 4: Add Drywall Tape (for longer cracks)
For cracks longer than 2 feet, apply mesh or paper drywall tape directly over the joint compound. Press it firmly with your knife to eliminate air bubbles.
This step reinforces the repair and prevents the crack from returning.
Step 5: Apply Additional Layers
Spread another thin layer of compound over the tape (or directly over the crack if no tape is used). Feather the edges to blend into the wall.
Let it dry completely (usually 24 hours), then apply a second coat if needed for a flush finish.
Step 6: Sand Smooth
Once the compound dries, lightly sand the area until smooth. Avoid over-sanding, which can expose the tape.
Step 7: Prime & Paint
Apply a coat of primer to seal the repaired surface. Once dry, paint over it with your wall color. The repair should now be invisible.
Bonus Tips to Prevent Future Hairline Cracks
Repairing drywall cracks is only half the battle. Here’s how to stop them from reappearing:
- Control humidity – Use a dehumidifier in damp spaces.
- Keep temperatures consistent – Avoid drastic heating/cooling changes.
- Use quality materials – Cheap mud or tape often fails sooner.
- Check for leaks – Fix plumbing or roof leaks before they damage drywall.
- Reinforce stress points – Use corner beads and proper joint taping during renovations
FAQs About Repairing Hairline Cracks in Drywall
Can I use spackle instead of joint compound?
Spackle works for small holes, but for fixing hairline cracks in drywall, joint compound is stronger and more flexible.
How long does the repair process take?
About 2–3 days total, mainly because you need to let each coat of compound dry 24 hours before sanding and painting.
Do hairline cracks always mean structural damage?
Not usually. Most are cosmetic from settling or humidity. But if cracks spread quickly or appear in multiple areas, call a professional.
Can I paint directly over the crack?
No. Painting won’t fill the gap. You need to clean, fill, and seal it with compound before painting for a lasting fix.
How do I know if I need drywall tape?
Use tape for cracks longer than about 2 feet, or in high-stress spots like ceilings and corners.
Conclusion: Repair Hairline Cracks in Drywall Like a Pro
Now you know how to fix hairline cracks in drywall the right way. With a few tools, some patience, and this step-by-step process, you can restore your walls and prevent cracks from returning.
Remember, the key is preparation: widen the crack, clean thoroughly, fill with joint compound, reinforce with tape if necessary, sand smooth, and finish with primer and paint.
Fixing these cracks not only keeps your walls looking flawless but also protects your home’s value and prevents bigger repairs down the road.
So next time you spot those fine lines on your wall, don’t stress—just grab your tools and follow this guide.