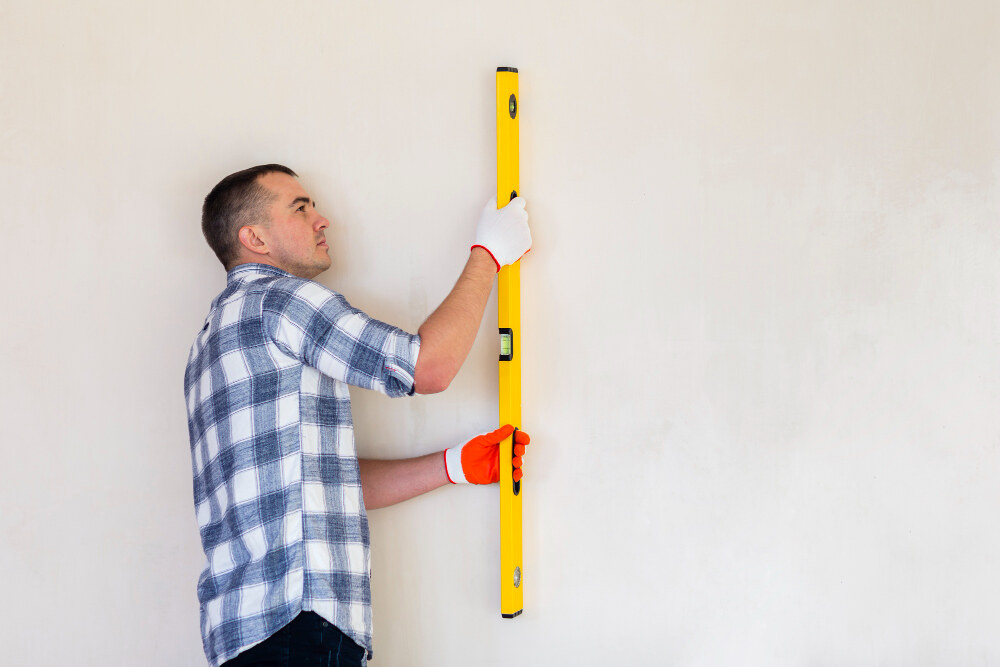
Achieving precise cuts and measurements in drywall installation is essential to a polished, professional look. Knowing how to properly use a drywall T-square for accuracy is key for creating straight, clean cuts, marking with precision, and maintaining alignment. This tool is invaluable for any drywall job, especially when consistency and accuracy are a priority.
This guide will walk you through every aspect of how to properly use a drywall T-square for accuracy with practical, step-by-step instructions. By the end, you’ll be ready to handle this tool like a pro and achieve results that truly stand out.
What Is A Drywall T-Square And Why Is It Essential?
A drywall T-square is designed specifically to make precise cuts on drywall sheets. Shaped like a “T,” the long side (or blade) aligns along the drywall, while the shorter crosspiece (or head) secures the T-square firmly to the sheet’s top edge. This unique design simplifies marking and measuring, helping you achieve accuracy while reducing material waste.
For professionals and DIYers alike, mastering how to properly use a drywall T-square for accuracy is essential. This tool ensures you can make straight lines, perfectly aligned measurements, and clean cuts, saving both time and frustration during installation.
How To Properly Use A Drywall T-Square For Accuracy (Step-by-Step)
Step 1: Positioning The T-Square For Stability
To begin, place the T-square on the drywall with the crosspiece resting flush against the top edge. This ensures that the T-square blade aligns straight along the length of the sheet. Correct positioning is the foundation of how to properly use a drywall T-square for accuracy, as even a slight misalignment can throw off your entire cut.
Pro Tip: Double-check that the T-square is snugly against the drywall edge. A stable start is essential for straight, accurate lines.
Step 2: Measuring And Marking The Cut Line
Once positioned, measure and mark your cut using the T-square’s edge as a guide. Draw a pencil line along the blade’s edge, which serves as a precise cutting guide. This step is integral to how to properly use a drywall T-square for accuracy and minimizes guesswork.
Pro Tip: Always re-measure before cutting. This saves time and ensures accuracy.
Step 3: Scoring The Drywall Using The Marked Line
After marking, it’s time to score the drywall. With the T-square still in place, use a utility knife to follow the line closely, applying gentle, even pressure. Scoring is an important part of how to properly use a drywall T-square for accuracy since it creates a clear break line without damaging the drywall surface.
Pro Tip: Use a fresh blade for each cut. A sharp utility knife ensures a clean score without ragged edges.
Step 4: Snapping And Cutting The Drywall
Once scored, gently bend the drywall along the score line to “snap” it cleanly. Complete the cut by slicing through the paper backing on the opposite side. This “score and snap” method is a fundamental part of how to properly use a drywall T-square for accuracy as it produces precise, straight cuts.
Pro Tip: Apply even pressure across the entire length to prevent uneven breaks.
Step 5: Rechecking Accuracy
Finally, recheck the cut edges for alignment. Use your T-square to verify that the edges match your intended measurements. If any adjustments are needed, lightly sand or trim uneven spots. This final check is critical for how to properly use a drywall T-square for accuracy, ensuring each piece is correctly sized.
Advanced Tips For Mastering Drywall T-Square Accuracy
Tackling Complex Cuts
Beyond basic straight cuts, knowing how to properly use a drywall T-square for accuracy involves using the tool to mark more complex areas, such as around outlets and windows. Mark the outer edges of the cut, then use a jab saw to finish, maintaining consistent measurements.
Planning Your Layout
For larger projects, use the T-square to mark all sheets before cutting. Pre-marking layouts is an advanced method in how to properly use a drywall T-square for accuracy and reduce mistakes by maintaining a consistent sheet size across the project.
Holding The T-Square Firmly
Ensuring a solid grip on the T-square is vital for accuracy. High-quality T-squares often have non-slip features, but if yours doesn’t, consider gloves for extra grip. A solid hold prevents slipping, making how to properly use a drywall T-square for accuracy much easier and safer.
Common Mistakes When Learning How To Properly Use A Drywall T-Square For Accuracy
Not Double-Checking Measurements
Skipping re-measurements is a common error that compromises accuracy. Always double-check the T-square’s alignment and the cut line before scoring.
Using A Dull Knife
A dull blade can lead to uneven scores and accidental slips. Replace utility knife blades regularly to stay true to how to properly use a drywall T-square for accuracy and achieve clean cuts every time.
Allowing The T-Square To Shift
If the T-square shifts during marking, your cut may be uneven. Hold it firmly against the drywall, applying pressure only as needed. Stability is fundamental in how to properly use a drywall T-square for accuracy and ensures consistent results.
Conclusion: Becoming An Expert In How To Properly Use A Drywall T-Square For Accuracy
Learning how to properly use a drywall T-square for accuracy can take your drywall projects from basic to expert-level precision. Following these steps—from positioning and marking to scoring and snapping—helps you achieve the clean, straight cuts that are essential to professional drywall installation.
Mastering how to properly use a drywall T-square for accuracy not only saves you time and materials but also results in a quality finish. With practice and attention to detail, this tool will become an essential part of your drywall toolkit, ensuring every installation is smooth, seamless, and accurate.

