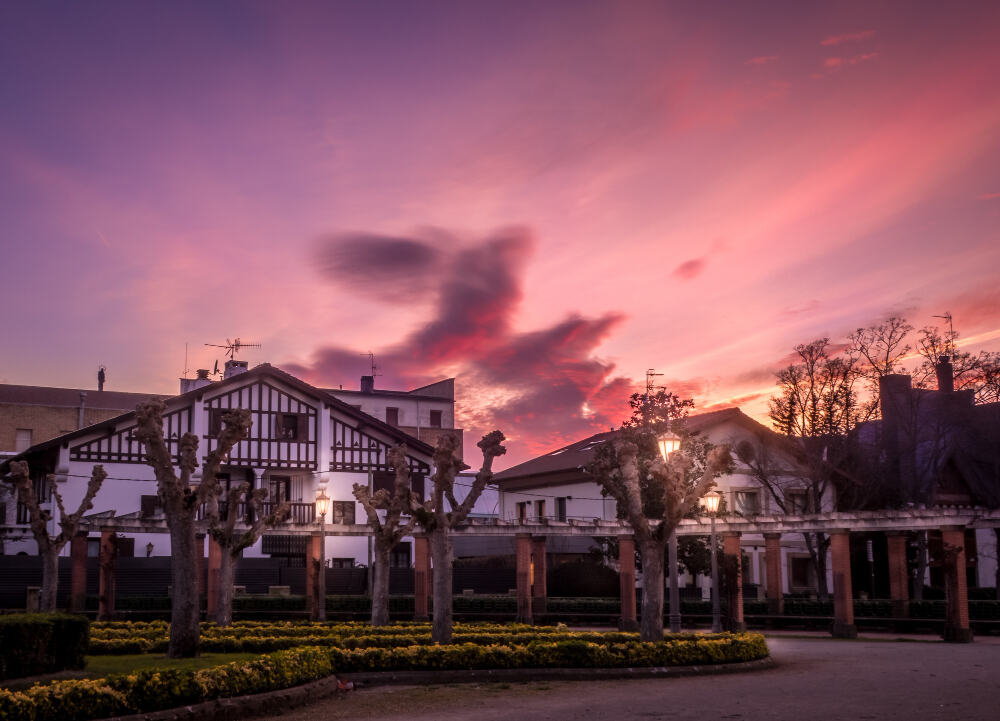
Renovating a historic home can be an exciting and rewarding experience, but it also presents unique challenges—especially when it comes to modernizing the interior while preserving its original charm. One of the key updates homeowners often look for is drywall installation. Unlike newer homes, historic properties typically have irregular framing, plaster walls, and other older construction features that require a specialized approach. This guide will walk you through how to install drywall in historic homes while maintaining architectural integrity and ensuring a seamless, professional finish.
By the end of this comprehensive guide, you’ll have all the knowledge you need to install drywall in a historic home while overcoming common challenges. With more than 20 years of experience in the drywall industry, I’ll also share expert tips on the best tools, materials, and techniques for this type of project.
Understanding the Challenges of Historic Home Drywall Installation
Historic homes, often built before the 1950s, were typically constructed with different building methods than what we see today. Many feature plaster walls, wood lath, or even brick, creating a few key challenges when it comes to installing drywall.
Common Issues in Historic Homes:
- Irregular Framing: Unlike the standardized stud spacing of modern homes (16 or 24 inches on center), the framing in historic homes is often inconsistent. This can make it difficult to attach drywall panels properly.
- Plaster Walls: Many historic homes have plaster walls, which can be in various states of disrepair. You’ll need to decide whether to repair the plaster or install drywall directly over it.
- Settling and Movement: Historic homes tend to shift and settle over time, which means you may face uneven surfaces or cracked walls. This makes preparing the surface crucial to ensure a smooth drywall finish.
Understanding these challenges is essential when figuring out how to install drywall in historic homes without compromising the building’s historic value. Once you’ve assessed the condition of the home, you can proceed with selecting the right materials and preparing the walls for drywall installation.
Tools and Materials Needed for Drywall Installation in Historic Homes
Before you begin the drywall installation, gathering the right tools and materials is crucial. For this project, you’ll need both standard drywall tools as well as a few extras to handle the quirks of a historic home.
Essential Tools:
- Drywall sheets (typically 1/2 inch thick)
- Drywall screws or nails
- Power drill/driver
- Taping knife
- Joint compound (mud)
- Fiberglass or paper drywall tape
- Drywall saw (for cutting around irregular studs and obstacles)
- Corner bead (for finishing outside corners)
- Sanding sponge or pole sander
For installing drywall in historic homes, you might also need:
- Shims or furring strips: If the wall framing is uneven, these will help create a level surface for the drywall.
- Insulation: Many historic homes lack insulation in the walls. Installing it before the drywall can significantly improve energy efficiency.
- Moisture Barrier: Older homes can sometimes have moisture issues, so consider installing a vapor barrier behind the drywall in areas like basements or exterior walls.
How to Install Drywall in Historic Homes (Step-by-Step)
Step 1: Preparing the Walls for Drywall Installation
Before hanging drywall, the first and most important step is to prepare the existing walls. In historic homes, you may be dealing with old plaster that is cracked, uneven, or even partially missing. The goal is to create a solid, even surface to which the drywall can be attached.
Assessing the Existing Wall Condition
If the plaster walls are in reasonably good shape, you may be able to install drywall directly over them. However, if the plaster is crumbling or has significant damage, it’s often best to remove it entirely. Removing plaster can be messy and time-consuming, but it provides the opportunity to check for structural issues, update wiring or plumbing, and add insulation if needed.
Reinforcing the Wall Structure
Many older homes have wooden studs that are spaced irregularly. In some cases, the studs may have shifted due to settling, or they may be damaged by moisture or insects. Strengthen any weak or damaged studs by adding new lumber, known as sistering, to the existing studs. In homes with uneven surfaces, shimming or attaching furring strips to the studs can help create a level surface for drywall installation.
Step 2: Installing Drywall Over Plaster or Irregular Surfaces
In most cases, drywall can be installed directly over the existing plaster if it is in good condition. Here’s how you can approach installing drywall in historic homes over plaster:
Mark Stud Locations
Use a stud finder to locate the studs behind the plaster. Mark them clearly so you know where to screw the drywall panels.
Install Drywall Sheets
Start at the top of the wall, aligning the first sheet of drywall so that it’s level and flush with the ceiling. Secure the drywall using drywall screws driven into the studs.
Cut Around Obstacles
Historic homes often have unique architectural features or irregularities, such as exposed beams or electrical boxes. Use a drywall saw to carefully cut around these obstacles.
Check for Leveling Issues
Since historic homes have settled over time, you might encounter uneven surfaces. Use shims or furring strips to adjust the drywall so it sits flat against the framing.
For homes with extremely uneven walls, consider using thinner drywall (1/4 inch or 3/8 inch) to cover the imperfections more easily. This approach also reduces the weight of the drywall, which is important when installing over fragile plaster.
Step 3: Taping and Mudding the Drywall for a Seamless Finish
Once your drywall is securely attached, it’s time to tape and mud the seams to achieve that smooth, seamless finish. This step is crucial for preventing cracks and ensuring a professional look, particularly in older homes that are prone to settling and shifting.
Applying Drywall Tape and Mud
- Apply Joint Compound: Use a taping knife to spread a thin layer of joint compound over the seams between drywall sheets.
- Embed Drywall Tape: Lay paper or fiberglass tape over the joint compound, pressing it into the compound with your knife. Smooth out any air bubbles as you go.
- Add More Joint Compound: Once the tape is in place, apply another layer of joint compound over the top, feathering the edges outwards to blend with the drywall surface.
- Repeat as Needed: Apply at least two more layers of joint compound, allowing each layer to dry completely and sand between layers for a smooth finish.
Finishing the Corners
For outside corners, install a metal or plastic corner bead to protect the edges from damage. Apply joint compound over the bead, sanding and smoothing it until the corner is sharp and clean.
Step 4: Sanding, Priming, and Painting the Drywall
After the joint compound has dried and you’ve sanded it smooth, it’s time to prepare the drywall for painting. Sand the entire surface of the wall, paying close attention to any uneven spots or ridges where the compound was applied. A smooth finish is key to achieving professional-quality results.
Next, apply a coat of primer to the drywall. This seals the surface and provides a uniform base for paint or wallpaper. Historic homes often have different textures and finishes, so choosing a paint that complements the era of the home can help maintain its character.
Step 5: Preserving the Historical Integrity of the Home
One of the most important aspects of installing drywall in historic homes is ensuring that the modern updates don’t detract from the home’s original charm. While drywall is more practical and efficient than traditional plaster, it’s important to be mindful of the home’s historical features.
Things to Consider
- Retain Original Moldings and Trim: Many historic homes have intricate moldings, baseboards, or window casings that add to their character. These should be carefully preserved or replicated.
- Blending New with Old: Where possible, match the texture of the new drywall to the original finishes in the home. Textured or faux plaster finishes can help integrate the new drywall with the existing design elements.
- Respect the Home’s Layout: While it’s tempting to modernize historic homes completely, preserving unique architectural features like curved walls, exposed beams, or vintage fixtures can add to the home’s value and charm.
Conclusion: Achieving a Seamless Drywall Finish in Historic Homes
Installing drywall in a historic home is a delicate balance of modernizing the space while respecting its original character. By understanding the specific challenges of older homes, using the right tools and techniques, and being mindful of the historical integrity of the property, you can achieve a professional, seamless finish.
With over two decades of experience, I’ve worked on countless historic home renovations, and I can assure you that following these steps will result in a durable, high-quality finish. Whether you’re installing drywall over plaster or dealing with uneven surfaces, the key is patience, attention to detail, and a respect for the home’s unique history.

