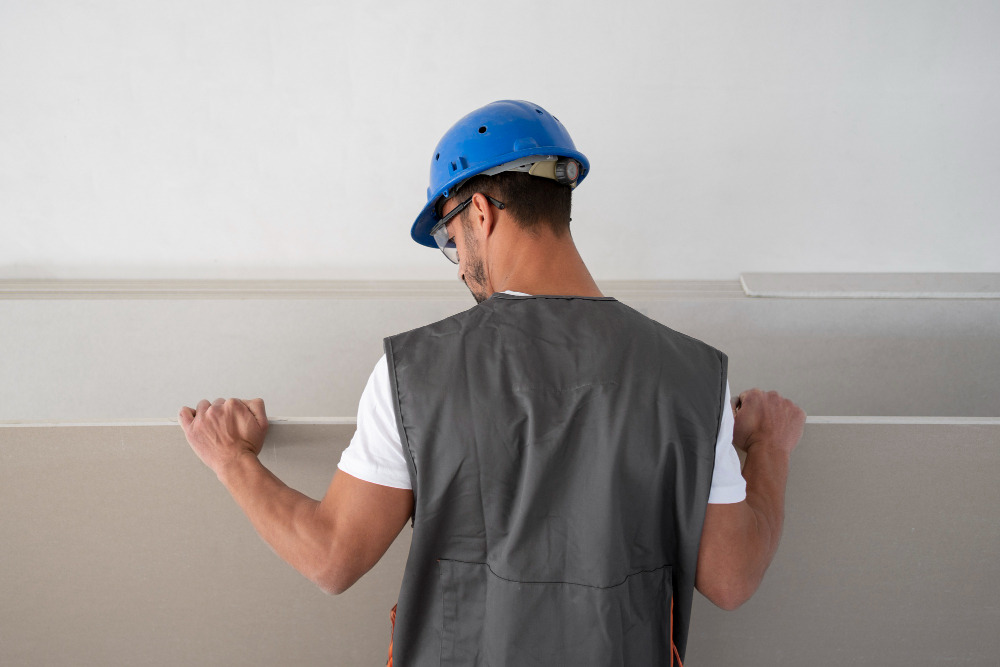
Removing drywall is a common task during renovations, repairs, or remodeling projects. But, doing it without damaging your home can be tricky. Whether you’re updating a room, fixing water damage, or making space for new plumbing or electrical work, learning how to carefully remove drywall will save you time, money, and unnecessary frustration. In this guide, we’ll walk through the process step-by-step, ensuring you can remove drywall without damaging your home or the structures behind it.
Why You Might Need to Remove Drywall?
Drywall may need to be removed for several reasons. These could include water damage, electrical updates, plumbing work, or structural changes during a renovation. No matter the reason, the key is to avoid causing damage to your home’s wiring, plumbing, or insulation. Proper drywall removal ensures you’re left with a clean slate for your next project without the hassle of unexpected repairs.
Knowing how to remove drywall without damaging your home will help you confidently take on your next home improvement project.
Tools and Materials You’ll Need to Remove Drywall
Before starting, gather the following tools and materials to make the process easier and safer:
- Utility knife
- Pry bar or crowbar
- Drywall saw or reciprocating saw
- Drill or screwdriver
- Stud finder
- Drop cloths
- Safety goggles, gloves, and a dust mask
- Heavy-duty trash bags or debris containers
These tools are essential for anyone learning how to remove drywall without damaging their home.
Remove Drywall Without Damaging Your Home: 5 Easy Steps
Step 1: Room Preparation
The first step to successfully removing drywall is preparing the room properly. Preparation helps prevent damage to the surrounding space and makes clean-up easier.
- Turn off utilities: Shut off the power and water supply to the area. This will protect you from accidentally cutting through electrical wires or water pipes.
- Cover floors and furniture: Lay down drop cloths to catch debris and dust. Move furniture or cover it to prevent damage.
- Wear protective gear: Put on safety goggles, gloves, and a dust mask to protect yourself from dust and sharp edges.
By preparing thoroughly, you’re one step closer to knowing how to effectively remove drywall without damaging your home.
Step 2: Locate Studs, Wiring, and Pipes
Before you start cutting into the drywall, it’s crucial to locate the studs, wiring, and pipes hidden behind it. This will prevent damage to important components within your walls.
- Use a stud finder: A stud finder will help you locate the framing behind the drywall, so you know where to cut.
- Mark utility lines: Mark the locations of any pipes, wires, or outlets you discover. Be cautious when cutting near these areas to avoid accidents.
By taking the time to identify what’s behind the drywall, you significantly reduce the risk of damage, ensuring you can remove drywall without damaging your home safely.
Step 3: Cutting the Drywall
Now it’s time to begin cutting the drywall. This step must be done carefully to ensure you don’t damage anything behind the wall.
- Score the drywall: Use a utility knife to score the drywall along the edges of the section you wish to remove.
- Cut along the studs: For larger sections, cutting along the studs allows you to remove drywall panels in full, which is often easier and cleaner.
- Create an access point: Use a small hammer or pry bar to create a starting point for removing the drywall piece by piece.
Cutting the drywall properly is crucial when you’re learning how to remove drywall without damaging your home.
Step 4: Pry Off the Drywall
After cutting, it’s time to start prying off the drywall. The goal here is to remove it carefully, without putting pressure on surrounding structures.
- Insert a pry bar: Insert the pry bar into the opening created during the cutting process. Begin slowly prying the drywall away from the studs.
- Remove drywall in sections: Start from the top and work your way down. Removing the drywall in smaller sections makes it easier to control and reduces the risk of damage.
- Remove screws or nails: As you pull away pieces of drywall, be sure to remove any nails or screws that were securing it to the studs.
By taking your time and working in sections, you can safely remove drywall without damaging your home.
Step 5: Clean-Up and Inspect the Area
Once the drywall has been removed, the next step is to inspect the area and clean up the debris.
- Inspect for hidden damage: Look closely at the studs, wiring, pipes, and insulation to make sure nothing has been damaged.
- Dispose of debris properly: Place drywall debris in heavy-duty trash bags or containers, and remove it from the work area.
- Vacuum the dust: After removing the drywall, vacuum up any dust that has settled on the floor, furniture, or surfaces.
Inspecting the wall cavity ensures you haven’t caused any damage during the process. Proper clean-up is the final step in successfully learning how to remove drywall without damaging your home.
Tips to Prevent Damage During Drywall Removal
When removing drywall, it’s easy to accidentally cause damage if you’re not careful. Here are a few expert tips to help you avoid common mistakes:
- Don’t cut too deeply: Only cut through the drywall layer. This will help you avoid damaging pipes or wiring hidden behind the wall.
- Pry gently: Excessive force when prying drywall can break studs or damage framing.
- Work in sections: Removing drywall in smaller sections gives you better control, reducing the risk of damaging surrounding materials.
- Use the right tools: A reciprocating saw or drywall saw is perfect for cutting drywall while minimizing the risk of cutting into something behind it.
By following these tips, you can confidently remove drywall without damaging your home, even if it’s your first time tackling a project like this.
Frequently Asked Questions About Drywall Removal
Here are some common questions people ask when learning how to remove drywall:
Can drywall be reused after removal?
In most cases, drywall becomes too damaged during removal to be reused. It’s best to replace it with new drywall.
How do I avoid cutting through electrical wires?
Use a stud finder and mark the location of wires and pipes before cutting. Always cut cautiously and check the area behind the wall before cutting through.
What if I accidentally hit a pipe?
If you hit a pipe, turn off the water supply immediately and contact a professional plumber for repairs. Avoid making the situation worse by attempting to fix it yourself.
Understanding these FAQs further deepens your knowledge of how to remove drywall without damaging your home.
Final Thoughts
Removing drywall doesn’t have to be a stressful or risky task. By following the steps outlined here, you can confidently remove drywall without damaging your home. With the right preparation, tools, and careful execution, this process can be completed safely and efficiently. Whether you’re tackling a small repair or removing drywall for a larger renovation project, having the right know-how is crucial to preventing unnecessary damage.
By ensuring you take all precautions and work methodically, you’ll protect your home from unwanted repairs and keep your renovation on track. Now you know exactly how to remove drywall without damaging your home, so you can approach your next project with confidence.

