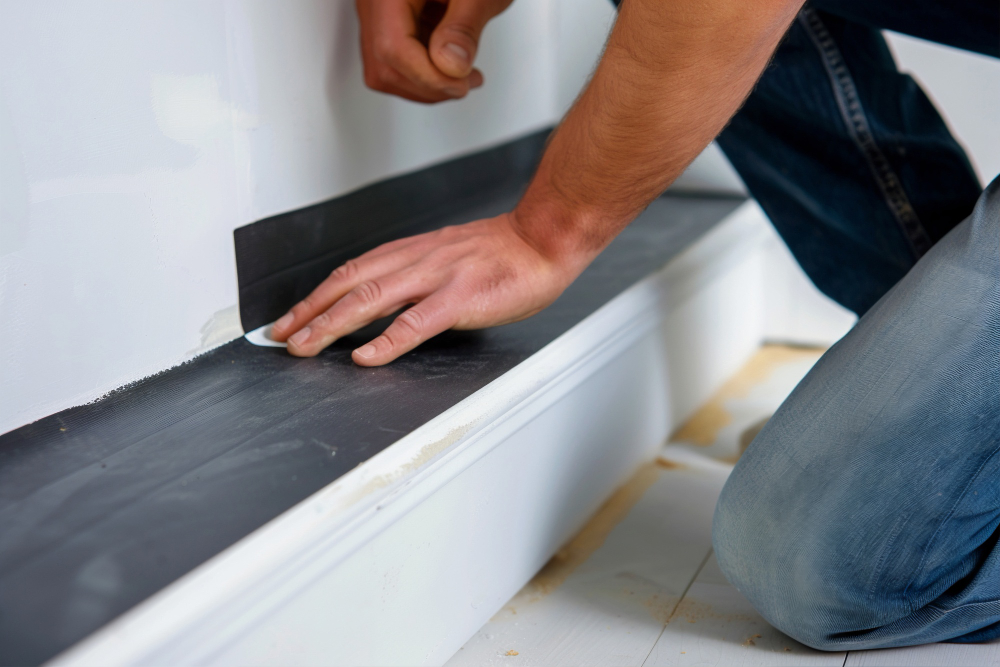
When you’re finishing drywall — whether repairing damage, smoothing seams, or preparing walls for paint — choosing the correct sandpaper grit is crucial. The wrong grit can leave visible scratches, over-sand soft compound, or waste your time. In this guide you’ll learn exactly what grit to sand drywall at each stage, why it matters, and how to get a smooth, professional finish with the right tools.
Understanding Sandpaper Grits & Why It Matters
“Grit” refers to the size of the abrasive particles on the sandpaper. Lower grit numbers (like 80-100) mean coarser, more aggressive abrasives that remove material quickly. Higher numbers (150, 180, 220) mean finer abrasives, better for smooth finishing. In drywall work, the goal is to gently shape and smooth joint compound (mud) without damaging the drywall surface itself.
Using too coarse a grit can gouge or scratch the drywall paper; too fine a grit too early can clog up and make sanding inefficient.
Recommended Grits for Drywall Sanding (Step by Step)
| Stage | Recommended Grit(s) | Purpose / When to Use |
| First sanding (after joint compound dries) | 80–100 grit (some professionals stretch to 120) | Use for knocking down high spots, ridges, or excess joint compound—leveling the surface. Only use 80–100 if there is enough compound buildup. Otherwise, consider starting higher. |
| Smoothing/intermediate sanding (after first sanding or second coat) | 120–150 grit | Smooths seams and edges, evens out the mud surface, and prepares the wall for final sanding. This is often the “workhorse” range and where most drywall sanding is done. |
| Final sanding (before priming/painting) | 180–220 grit (some use up to 220) | Refines the surface by removing minor imperfections, feathering, and scratch lines left by coarser grits. Results in a smooth, paint-ready wall. |
| Optional extra-fine sanding (very light touch-ups for premium finish) | 240–320 grit+ (rare, for special cases) | Generally not needed for typical drywall work. Might be used before high-gloss paints or when ultra-smooth surfaces are required. But excessive fine sanding can reduce surface porosity and interfere with primer/paint adhesion. |
Bottom Line (as a pro drywall contractor would):
- Initial coarse sanding: 80–100 grit if needed (only for heavy compound build-up)
- Main smoothing work: 120–150 grit — ideal “bread and butter” range
- Final finish before paint: 180–220 grit — for a paint-ready surface
Tools & Sandpaper Types for Drywall
Selecting the right sandpaper is only half the equation as the tool matters too. Here are common sanding tools used in drywall work:
- Pole sanders (with sanding sheets): Great for large flat areas like ceilings and high walls. Allows you to reach without ladder, maintain even pressure, and cover broad surfaces quickly.
- Hand sanders and sanding sponges: Best for smaller patches, corners, edges — when you need control and precision. Sanding sponges are especially useful for feathering compound around trims or junctions.
- Sanding screens or net sanding discs: These help reduce dust buildup, stay sharp longer, and avoid clogging — especially helpful for smooth sanding between coats.
Pro tip: For drywall joint compound, many professionals prefer aluminum-oxide sandpaper because it lasts longer and resists clogging, compared to softer garnet or silicon-carbide papers.
Also, always use gentle pressure, let the sandpaper do the work, and sand with light overlapping strokes rather than hard scrubbing. This reduces the risk of damaging the paper face of drywall.
Why Using the Right Grit Makes (or Breaks) Your Finish
Using the right sandpaper grit at each stage ensures:
- You don’t gouge or damage the drywall surface. Coarse grits (below ~80) can leave deep scratches visible under paint.
- Efficient sanding — you remove material when you need to (with medium grits), then refine and smooth (with fine grits).
- A paint-ready surface — sanding too coarse or skipping fine sanding leaves imperfections that show through primer or paint, especially under bright light or gloss/semi-gloss finishes.
- Avoid over-sanding. Extra-fine grits (240+) aren’t usually needed, and overdoing it can reduce wall porosity, harming primer/paint adhesion.
Pro Step-by-Step Drywall Sanding Workflow (As Done by a Professional)
- Wait for joint compound to fully dry — never sand “wet” mud.
- Inspect surface under good light, mark ridges or uneven spots.
- If there are heavy bumps or thick compound build-ups: start with 80–100 grit — but only if needed. Skip this if compound is fairly even.
- Use 120–150 grit to smooth seams, blend edges, knock down ridges, and prepare the surface. Use pole sander for large areas; sponge/hand sander for corners, edges.
- Clean off dust thoroughly — dust left behind can cause scratch marks or prevent proper adhesion of paint.
- Switch to 180–220 grit for the final pass. Sand lightly to smooth out scratches and feather edges. Avoid aggressive sanding.
- Inspect under oblique (side) lighting. Look for pinholes, ridges, or imperfections that paint or primer could highlight. Touch up with fine sanding or another skim coat as needed.
- If preparing for high-gloss paint or ultra-smooth finish, consider very light sanding with extra-fine (240–320) — but do so cautiously. Often unnecessary.
Add dust control: use vacuum-attached pole sander or wet sanding sponge for small spots to minimize airborne dust.
Common Mistakes (and How to Avoid Them)
- Starting with sandpaper too coarse (e.g. 40–60 grit): This can gouge drywall paper — avoid unless you’re removing very heavy compound or paint layers.
- Skipping intermediate sanding (120–150 grit): Going straight from heavy sanding to fine sanding often leads to uneven surfaces or visible scratches.
- Using too fine grit too early / sanding too aggressively: Extra-fine sandpaper tends to clog, removes little material — making sanding inefficient — and can “polish” the compound surface, reducing paint adhesion.
- Not cleaning dust between sanding stages: Dust buildup can cushion the sandpaper’s abrasive action, leading to inconsistent sanding — or worse, embed dust into the surface that shows through paint.
FAQs related to Drywall Sanding & Sandpaper Grit
What grit sandpaper is best for drywall before painting?
For final sanding before priming/painting, 180 to 220 grit is generally recommended for the smoothest finish.
Can I use coarse sandpaper (like 80 grit) on drywall?
You can — but only in limited circumstances: when there’s a lot of dried joint compound to remove. For typical drywall finishing, coarse sandpaper can gouge or damage the drywall and is best avoided.
Is extra-fine sandpaper (240 or above) useful for drywall?
Rarely. Extra-fine grits are mostly unnecessary for normal drywall finishing, and using them can even reduce the ability of primer or paint to adhere properly. Fine grits up to 220 suffice in almost all cases.
Which sanding tools are best for drywall work?
Use a pole sander for large walls and ceilings, hand sander or sanding sponge for corners and tight spots. Sanding screens / net discs help reduce dust and last longer, and aluminum oxide sandpaper is often the most durable choice.
Conclusion
If you want a smooth, professional-grade drywall finish — whether you’re doing a DIY patch, repairing old walls, or finishing new drywall installation — the right grit and proper sanding technique make all the difference. Start with medium grit (120–150) for most of your work, then finish with 180–220 grit for a paint-ready surface. Use appropriate tools and dust-control methods, inspect carefully under good light, and avoid over-sanding. Follow this approach and you’ll consistently get seamless, high-quality walls that stand up under primer and paint.