Removing drywall anchors might sound simple—but if you’re not sure what you’re doing, it can quickly become a headache. Whether you’re switching up decor, repainting, or just correcting a mistake, knowing how to remove drywall anchors properly makes all the difference.
This comprehensive guide walks you through exactly how to remove drywall anchor, how to remove a metal wall anchor from drywall, and how to remove anchors from drywall—all designed to leave your walls looking clean and ready for repair.
Why Clean Drywall Anchor Removal Matters?
Drywall is delicate. Mishandling anchor removal can lead to chipped paint, gouges, or oversized holes that turn a quick fix into a full repair job. Getting it right means less effort patching and more time enjoying your refreshed space. Let’s explore the best methods by anchor type.
How to Remove Drywall Anchors—Methods for Every Type
Standard Plastic or Threaded Anchors
These everyday anchors are common—but they still demand a gentle approach.
- Loosen the screw slightly—don’t remove it completely—just enough so threads show.
- Grip the exposed head with needle-nose pliers or a claw hammer gently (pad the hammer head with cloth to avoid wall scratches).
- Pull straight out—most come cleanly and leave minimal damage.
Self-Drilling (Corkscrew-Style) Anchors
Popular for quick installs, but removal is easy too.
- Remove the screw and insert a screwdriver into the anchor’s drive.
- Turn counter-clockwise to unscrew the anchor just like a regular screw.
- This tends to come out smoothly and cleanly.
Pop-Toggle or Spring-Loaded Toggle Anchors
These features have wings or flanges that lock behind the wall.
- Unscrew carefully, avoiding letting the wings fall into the void.
- Slip a hex key into the anchor hole to flip the wings so they align parallel to the wall.
- Pull the screw and assembly out together—if that fails, pushing the unit into the wall and patching is often easier.
Molly Bolts (Metal Expansion Anchors)
Built for heavy loads—but harder to remove.
- Remove the anchor screw first.
- Use a drill bit slightly larger than the metal collar. Drill around the collar to break it free.
- Then simply push the rest of the anchor inward and patch over the recess.
Recessing or Crushing Tough Anchors
Ideal when pulling risks wall damage.
- Slice off the visible head or collar with a utility knife.
- Push the remaining anchor flush into the wall cavity.
- Patch the surface—most times, no further damage occurred.
The Clever Wine-Opener Hack
A quirky yet practical method for renters or quick fixes.
- Suitable only for non-threaded plastic anchors.
- Insert a corkscrew-style wine opener into the anchor, twist, and pull—you often get anchor removal in seconds.
- Not effective for metal or threaded anchors but impressively useful when it works.
How to Remove a Metal Wall Anchor from Drywall
Metal anchors—like toggle bolts and molly bolts—need special handling:
- Toggle bolts: Ease out the screw, hold the wings in place (using a hex key or pliers), and gently extract. If that fails, recessing and patching works just as well.
- Molly bolts: Remove the screw, drill off the collar, and push the remainder inward. Clean, easy repair follows.
How to Remove Anchors from Drywall (General Strategy)
- Identify your anchor first—knowing whether it’s plastic, metal, threaded, or expansion style directs your approach.
- Work slowly. Quick, forceful pulls invite drywall damage.
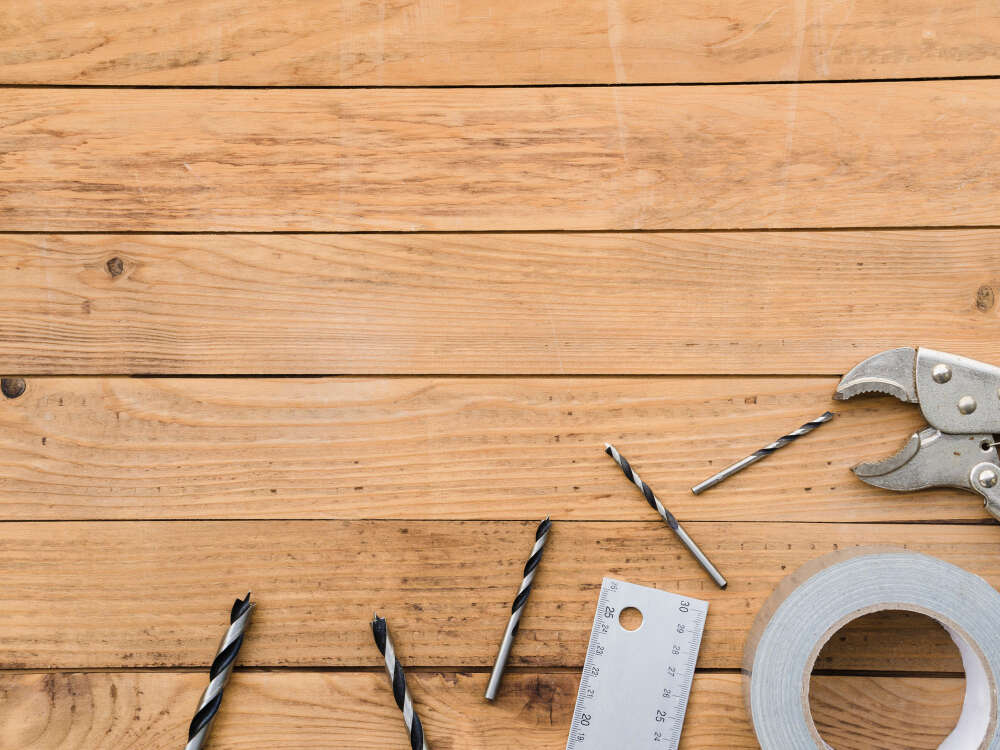
- Use the right tools: pliers, screwdrivers, utility knife, putty knife, and safety glasses.
- After removal, patch the hole: use spackle or compound, sand smooth, and paint.
Wall Repair After Anchor Removal
- Fill the leftover hole with spackling or joint compound via a putty knife.
- Once dry, lightly sand with fine-grit sandpaper for a seamless surface.
- Prime and paint to match the surrounding wall. For deeper voids, reinforce with mesh patch first.
Frequently Asked Questions
How to remove drywall anchor without damaging drywall?
Loosen the screw slightly, use pliers to pull it out steadily—or cut and recess stubborn anchors, then patch.
Can I just push the anchor through the wall?
Yes—cut off the collar and push the remaining anchor inside. Then simply cover with compound.
Will the wine opener trick damage drywall?
Not usually. It works best with non-threaded plastic anchors. For metal or threaded types, choose a different method.
How big should the drill bit be for molly bolt removal?
Slightly larger than the anchor collar—this lets you break the metal free cleanly without risk of wall injury.
Should I reuse holes after removing anchors?
It’s best not to. Patch it, allow to dry, then choose a new spot nearby (or use a stud) for reinsertion.
Conclusion
Whether you’re wondering how to remove drywall anchors or specifically how to remove a metal wall anchor from drywall, this guide has you covered. It walks you through each anchor type—from common plastic sleeves and corkscrew anchors to heavy-duty molly bolts and toggle assemblies.
With smart tools, patient techniques, and a little elbow grease, you’ll remove anchors cleanly and patch walls like a pro—leaving no evidence behind. Your walls will be flat, clean, and ready for the next project.
Here’s to smooth removals and flawless finishes—happy fixing!