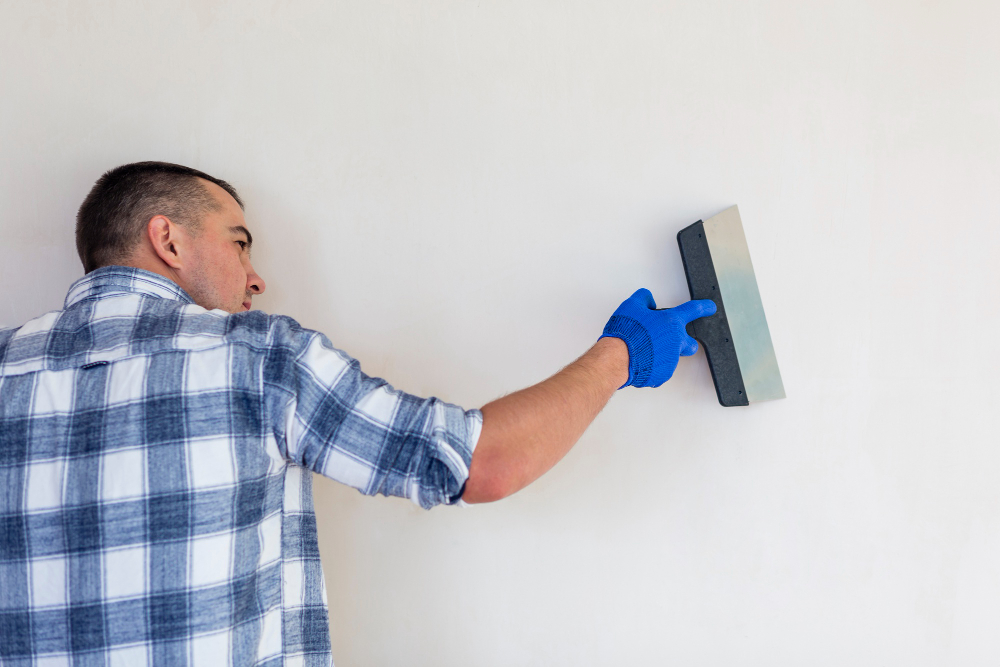
The knockdown texture is a popular decorative technique that adds depth and character to interior walls. Homeowners and contractors often choose this finish to create a more dynamic and modern appearance, especially when renovating or building new spaces. But achieving that professional, smooth knockdown texture requires more than just a spray gun and a vision. The secret to success lies in properly preparing the drywall beforehand.
How to prepare drywall for knockdown texture is crucial knowledge for anyone looking to achieve a flawless finish. Without proper preparation, you could end up with uneven surfaces, poor adhesion, or even an unsatisfactory look. This guide will walk you through everything you need to know about preparing your drywall for knockdown texture and why each step is essential.
Whether you’re a DIY enthusiast or a professional, these preparation steps will ensure your drywall is ready for the perfect knockdown texture application.
What is Knockdown Texture and Why Is It Popular?
Knockdown texture is a wall and ceiling finish that resembles a stucco-like pattern but with a softer, more subtle appearance. The process involves spraying a layer of texture material on the drywall and then flattening, or “knocking down,” the peaks of the texture with a knockdown knife or trowel. This results in a more rustic and organic look compared to other finishes like smooth or orange peel.
This technique is particularly popular because:
Aesthetic appeal: Knockdown texture creates a unique, visually appealing surface that hides imperfections and adds character to any room.
Easy to maintain: The textured surface hides minor blemishes and scratches, making it easier to maintain over time.
Increased home value: Many homeowners find that knockdown texture adds a modern and stylish touch to their interior spaces, which can increase property value.
However, the key to achieving this look starts with knowing how to prepare drywall for knockdown texture effectively. Let’s dive into the process step-by-step.
Step-by-Step Guide on How to Prepare Drywall for Knockdown Texture
Preparing drywall for knockdown texture is a multi-step process that ensures the surface is smooth, clean, and ready to hold the texture. Here’s how to do it:
1. Smoothen the Surface
The first step in preparing drywall for knockdown texture is to ensure the surface is perfectly smooth. You’ll want to inspect the drywall for any imperfections, such as:
Holes: Small nail holes or larger holes from anchors need to be filled with drywall mud (joint compound).
Cracks: Any cracks should be repaired with joint compound and sanded smooth.
Protruding nails or screws: Be sure to drive any exposed nails or screws flush with the drywall surface.
If you fail to smooth out these imperfections, they’ll become more noticeable once the knockdown texture is applied. Use a drywall knife to apply mud over any holes or cracks, then let it dry. Once dry, sand it down to a smooth, even surface.
2. Clean the Drywall Surface
After smoothing the surface, the next step is to clean the drywall. Dust, dirt, and other debris can interfere with the adhesion of the texture material. Use a dry paintbrush or a clean cloth to wipe down the drywall and ensure it’s free of dust and grime.
A clean surface allows the primer and texture material to bond more effectively, reducing the chances of peeling or uneven textures down the line. Skipping this step could result in a subpar finish, as the texture might not adhere properly to a dusty or dirty wall.
3. Protect Surfaces
Knockdown texture is applied using a spray gun, which can get messy. To avoid getting texture material on your floors or furniture, it’s important to protect them with plastic sheets or drop cloths. Cover the floors, baseboards, and any nearby furniture.
Additionally, use painter’s tape to protect any trim, windows, or fixtures that you don’t want to be affected by the texture spray. Taking the time to properly cover your workspace will save you from having to clean up unwanted overspray afterward.
4. Prime the Drywall
One of the most critical steps in preparing drywall for knockdown texture is applying a high-quality primer. Priming serves several important purposes:
Better adhesion: Primer helps the knockdown texture material adhere more effectively to the drywall surface, ensuring a long-lasting finish.
Even texture: The drywall’s surface consists of porous materials that can absorb the texture unevenly. Primer seals the drywall, creating a uniform surface that prevents the texture from soaking in too quickly, leading to an even finish.
Stain blocking: Priming also helps to block any stains or discoloration on the drywall from bleeding through the knockdown texture.
Use a roller or sprayer to apply one or two coats of primer, making sure it’s spread evenly across the entire surface. Allow the primer to fully dry before moving on to the next step. The drying time may vary depending on the product, but it typically takes 1-2 hours.
5. Prepare the Texture Material
While your primer is drying, it’s time to prepare the knockdown texture material. Knockdown texture is typically made from a mix of joint compound and water. Here’s how to prepare the material:
Read manufacturer’s instructions: Different texture materials come with specific instructions for mixing. Always follow these guidelines to achieve the proper consistency.
Mix to desired consistency: The texture material should be mixed to a consistency that’s thick enough to hold shape when sprayed but thin enough to spray smoothly through a texture gun.
If you’re not using pre-mixed texture material, use a 5-gallon bucket and a drill with a mixing paddle to ensure the mixture is thoroughly blended. It’s essential to get the right consistency for a smooth application and to avoid clogging your spray gun.
6. Test Your Spray Gun
Before you begin applying the knockdown texture to your drywall, it’s crucial to test your spray gun on a piece of scrap drywall or cardboard. Testing ensures:
Correct nozzle setting: Different nozzle settings will create different texture patterns. Test the gun to find the right setting for your desired knockdown look.
Proper material consistency: Testing the material allows you to adjust the thickness if necessary.
During the test, pay attention to the spray pattern and the amount of texture being applied. If it’s too thin or too thick, adjust the settings or the texture material accordingly.
Should You Prime Your Drywall Before Applying Knockdown Texture?
One of the most frequently asked questions about how to prepare drywall for knockdown texture is whether or not priming is necessary. The answer is yes, and here’s why:
Prevents Absorption Issues
Drywall is porous, meaning it can absorb texture material unevenly. Primer fills those pores, allowing for a more even texture application.
Ensures Better Adhesion
Primer creates a better bond between the drywall and the texture, helping the texture adhere more effectively.
Blocks Stains
Primer can also block any underlying stains or discoloration from showing through the texture, leading to a cleaner, more professional finish.
Increases Durability
By priming the surface, you ensure the texture stays adhered for the long haul, preventing premature peeling or cracking.
Skipping the primer can result in uneven texture application, poor adhesion, and a less durable finish. So, to achieve the best results, always prime your drywall before applying knockdown texture.
The Importance of Preparing Drywall for Knockdown Texture
Preparation is everything when it comes to achieving a flawless knockdown texture finish. Here are the key reasons why proper preparation is essential:
Smooth surface
Preparation ensures that any imperfections on the drywall are corrected, so they don’t show through the texture.
Even texture application
By cleaning and priming the drywall, you create an even surface that allows the texture to be applied uniformly.
Better adhesion
A clean, primed surface ensures the texture adheres correctly and remains durable over time.
Professional appearance
Proper preparation results in a knockdown texture that looks clean, professional, and aesthetically pleasing.
Whether you’re a DIY enthusiast or a seasoned professional, taking the time to properly prepare your drywall will make all the difference in the outcome of your knockdown texture project.
Frequently Asked Questions (FAQs) About Preparing Drywall for Knockdown Texture
Can you apply knockdown texture without priming the drywall?
While you technically can apply knockdown texture without priming, it’s not recommended. Skipping primer can lead to uneven absorption, poor adhesion, and a less durable finish.
What tools do I need to prepare drywall for knockdown texture?
You’ll need basic tools like a drywall knife, sandpaper, a roller or sprayer for the primer, and a spray gun for the texture. Safety gear such as gloves, safety glasses, and a dust mask is also recommended.
How long does it take to prepare drywall for knockdown texture?
Preparation time depends on the size of the space and the condition of the drywall. In general, you can expect the preparation process (including drying time for primer) to take 4-6 hours.
Can I apply knockdown texture to old drywall?
Yes, you can apply knockdown texture to old drywall as long as you properly prepare the surface. This may involve repairing imperfections, cleaning, and priming.
Conclusion: The Key to a Professional Knockdown Texture Finish
Achieving a flawless knockdown texture finish starts with knowing how to prepare drywall for knockdown texture properly. By following the steps outlined in this guide—smoothing and cleaning the surface, applying primer, preparing the texture material, and testing your spray gun—you’ll be well on your way to a professional-looking texture that enhances the beauty and durability of your walls.
Remember, preparation is key. Skipping any step in the process can lead to poor results, so take your time and do it right. Now that you’re equipped with the knowledge and tips, you’re ready to tackle your knockdown texture project with confidence!

